Keeping your home in good nick is a bit like giving yourself a regular health check-up. Taking an hour or two once a year to give your property a good once-over helps you spot small issues before they spiral into costly, stressful repairs.
You don’t need to be a tradie to do it; a keen eye and a bit of diligence are all it takes to perform a basic DIY home inspection. This simple routine can save you thousands in the long run and keep your home safe and sound.
Your Annual Home Health Check
Think of this as your home’s annual review. The goal is to create a simple routine you can follow every year. A good way to approach it is to break the inspection down into key zones: the interior, the exterior, and the roofline. As you go, you’re looking for anything that seems out of place, such as cracks, leaks, damaged materials, or signs of wear and tear. A general house inspection guide can give you a good starting point for what to look for. While many small fixes can be a DIY job, this check-up also helps you identify bigger problems that need a professional. For example, if you notice widespread damage to your roof tiles, it might be a sign that a simple repair won’t cut it. A professional roof restoration can address issues such as damaged or deteriorating roofing materials, leaks, and general wear, helping restore the roof’s condition and protect the home from further weather-related damage.
Inside the Home: Key Areas
Start your inspection from the inside, moving room by room. It’s often easiest to begin on the top floor and work your way down. Pay close attention to the areas where things are most likely to go wrong.
- Walls and Ceilings: Look for any new or growing cracks in the plaster. Fine hairline cracks are often just the house settling, but larger, jagged cracks could signal a structural issue. Check for any discolouration, water stains, or peeling paint, especially under bathrooms or on the top floor, as these are classic signs of a leak.
- Plumbing: Under every sink, check for drips or signs of water damage inside the cabinet. Flush all the toilets to ensure they work correctly and don’t keep running. It’s also a good idea to turn on the taps and check for any significant drops in water pressure.
- Windows and Doors: Open and close all windows and doors to make sure they operate smoothly and latch properly. Check the seals for any signs of decay or gaps that could let in draughts or water.
For a more detailed breakdown, you can use a home inspection checklist to ensure you’ve covered all the major systems.
Exterior Check-Up Essentials
Once you’re done inside, it’s time to head outdoors. Your home’s exterior is its first line of defence against the elements, so it deserves a thorough look.
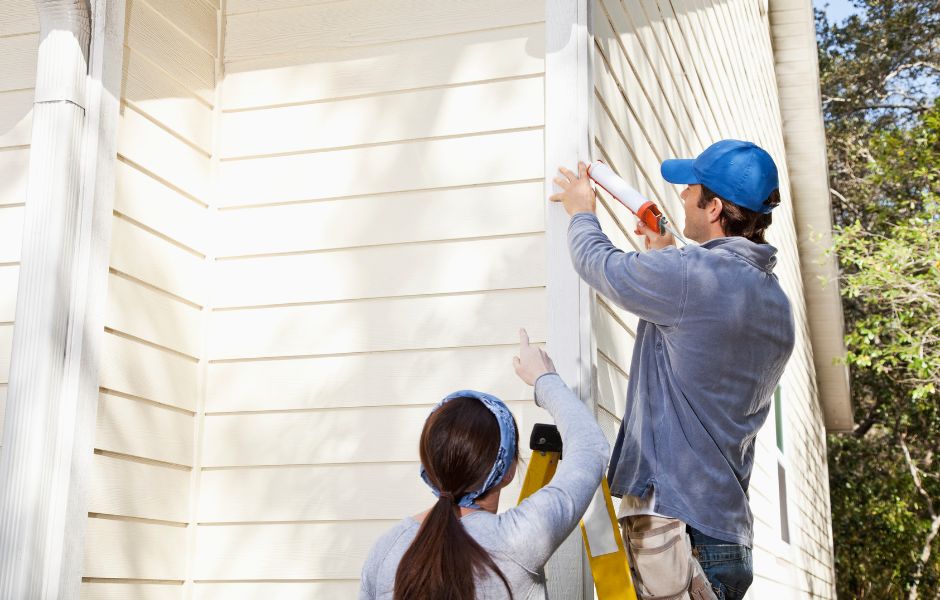
Walk around the entire perimeter of your house, looking from both a distance and up close. Check the walls for any peeling paint, cracked render, or damaged cladding.
If you have a brick home, look for any crumbling mortar between the bricks, as this could be one of many home health hazards to address. Take a look at the foundation or slab edge for any significant cracks.
Also, inspect where pipes or vents enter and exit the house to ensure the seals are intact and there are no gaps for pests to get in.
Roofline and Gutter Health
You don’t need to get on the roof to check its health. Most key indicators are visible from the ground. With a pair of binoculars, you can get a surprisingly clear view.
Scan the entire roof surface for any tiles that are cracked, slipped out of place, or missing altogether. Look for any build-up of moss or mould, as this can trap moisture and lead to decay over time.
Next, turn your attention to the gutters and downpipes. Check for any signs of sagging or pulling away from the house.
After a bit of rain is a great time to see if they are overflowing, which is a sure sign of a blockage. Ensure downpipes are directing water well away from your home’s foundation to prevent moisture issues down the track.
Documenting Your Findings
This might be the most important step of all. Simply noticing a problem isn’t enough if you forget about it a week later.
As you complete your inspection, take photos of any areas of concern on your phone. Create a dedicated notebook or a simple digital document to log your findings, noting the date, the location of the issue, and a brief description.
This creates a running history of your home’s condition. This record is invaluable for tracking whether a small crack is growing or if a damp patch is getting worse. It helps you prioritise repairs, budget for future work, and provides clear information if you need to call a professional.
A yearly DIY inspection is one of the smartest things you can do as a homeowner. It puts you in control, helping you protect your biggest investment and ensuring your home remains a safe, comfortable place for years to come.