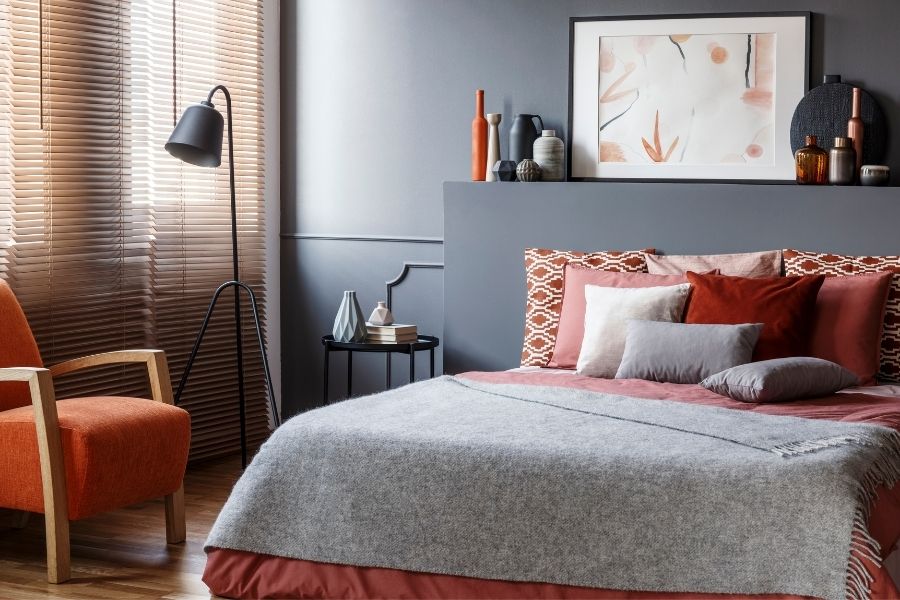
So this weekend we finally started our long-awaited budget kitchen makeover! We allocated a budget of around £500 to cover everything including paint, flooring and everything else we’d need.
Early on Saturday morning, we took our three year old off to her Grannies house and were finally able to get started with our budget kitchen makeover plans.
But, as with so many things in life, we didn’t get off to the best start. Our start was of course a Mcdonald’s breakfast. We needed fuel for our work but didn’t expect to wait over half an hour for two sausage and egg McMuffins.
We then headed to The Range to pick up paint, rollers, brushes, cleaning supplies and a few other bits we needed. We spent around £50.

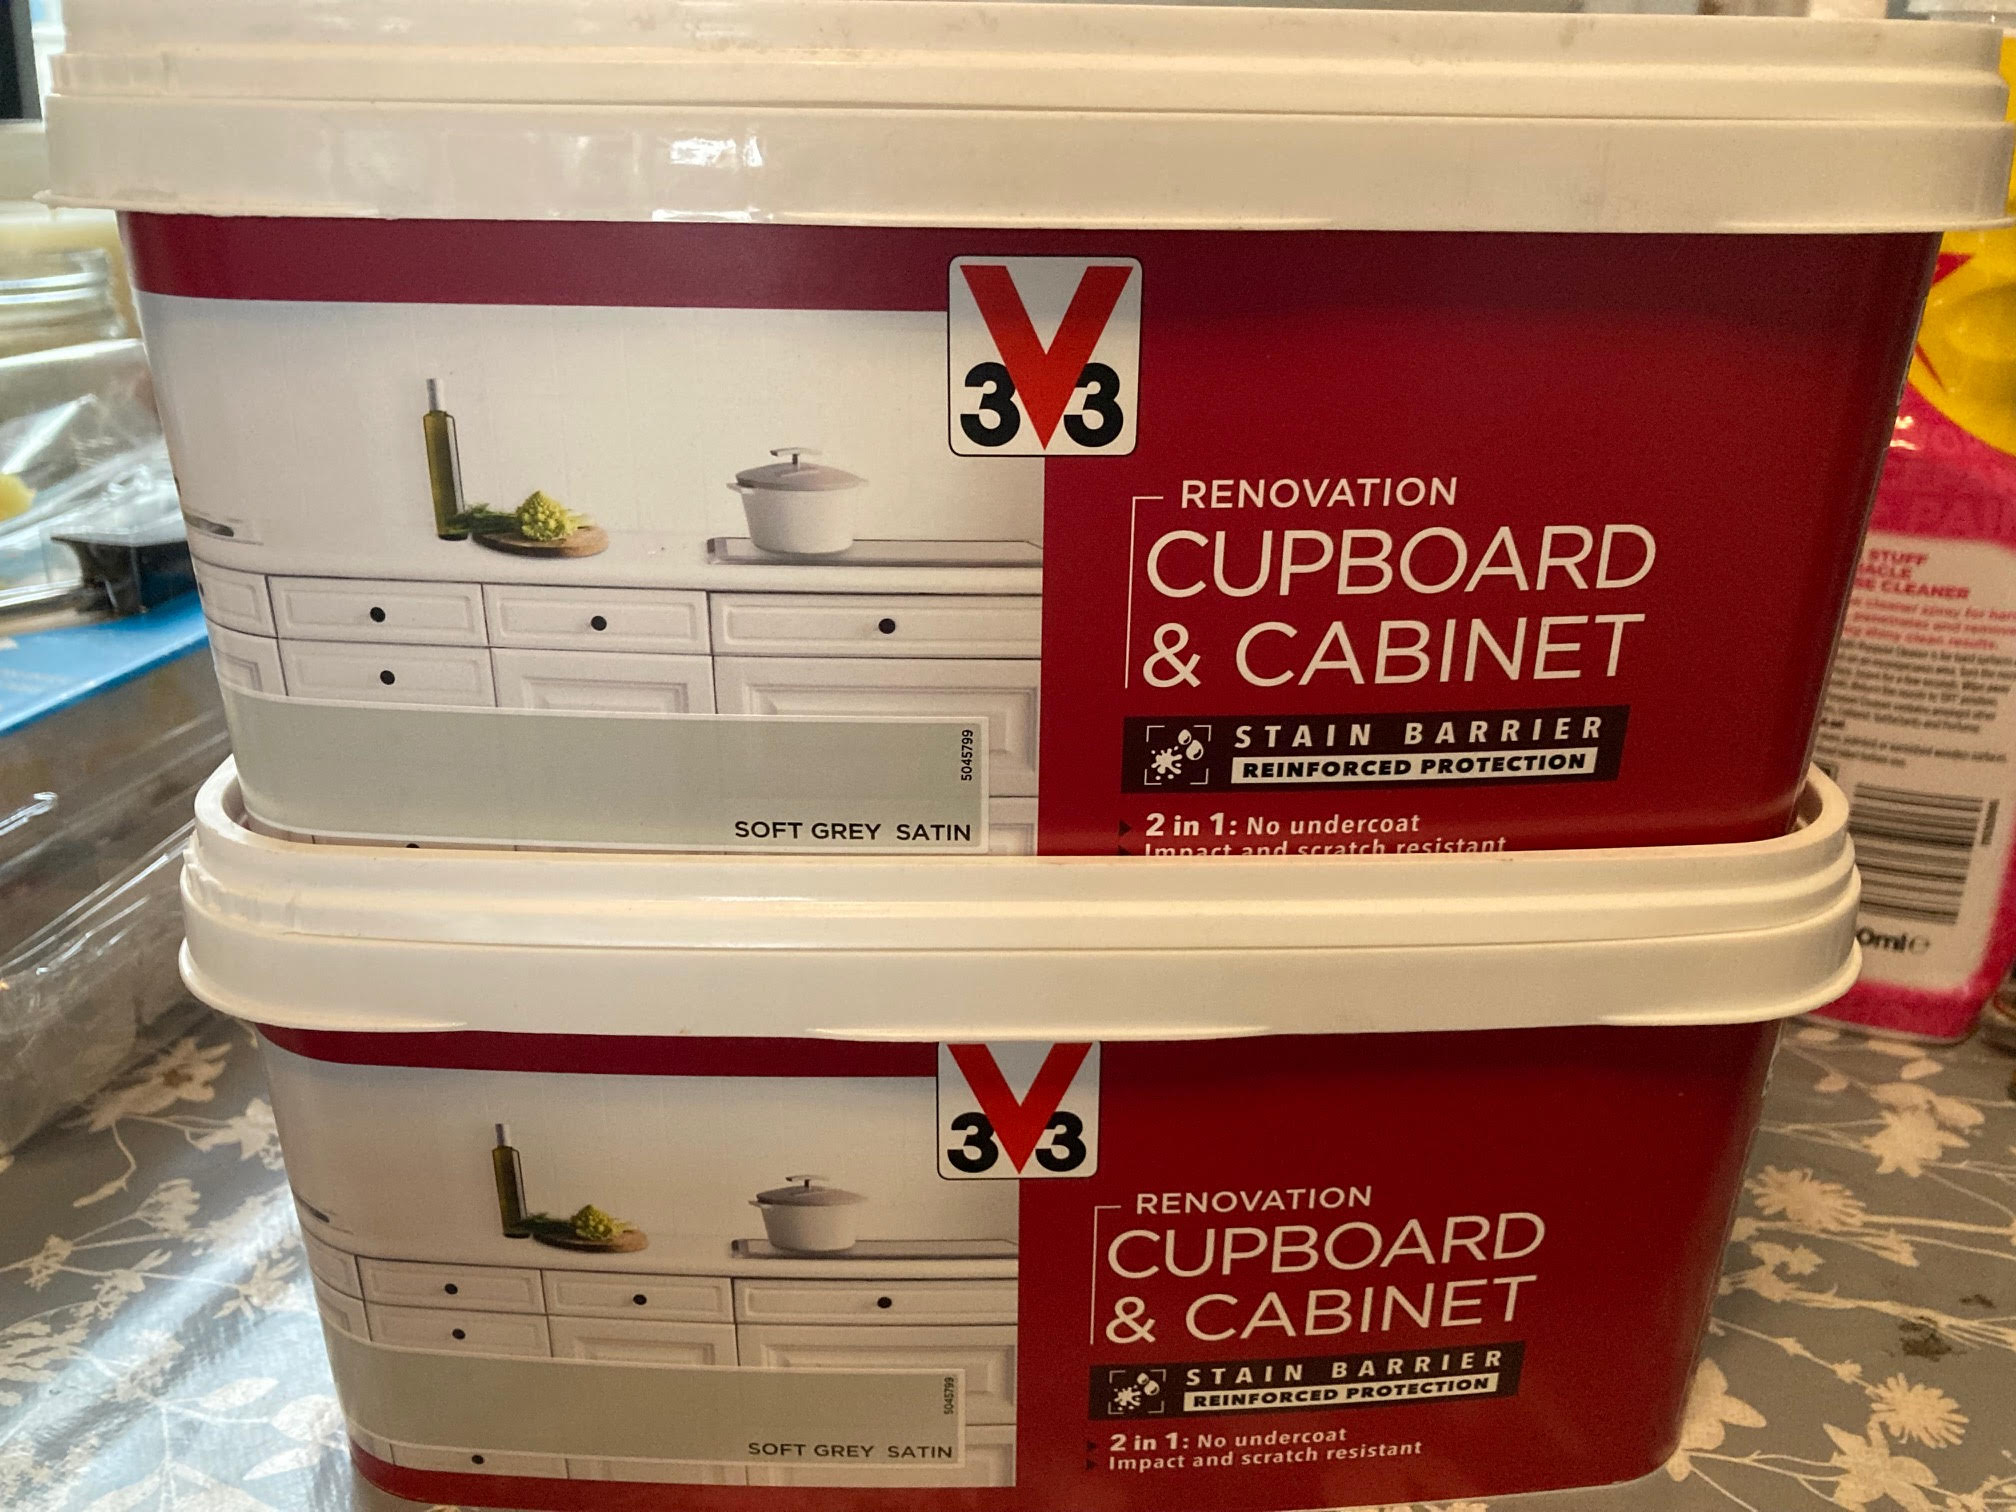
Next, we went to B&Q to buy the cupboard paint and the paint for the walls. Unfortunately, they were sold out of the latter. £83 on cupboard paint x 2 (V33 soft grey) and a tub of filler.
So we went off to Wickes to get the paint, which thankfully they did have. Two tubs of Dulux Traquill Dawn £37. We also snuck off for a look in Tapi Carpets and Dunelm as we hadn’t agreed on flooring yet. We fell in love with tiles in Dunelm but are waiting until everything else is done to order them.
This took us to around two o’clock when we realised we were going to get significantly less done than we had hoped to. Traffic jams on the way home did not help!
Once home we ordered vinyl wall tiles, doorknobs and a splashback for our oven, all from Amazon, totalling £150.
Spend so far: £320
Budget Kitchen Makeover
We always knew repainting the cupboards was going to be the biggest and messiest job so that’s what we decided to tackle first.
Pete took the cupboards off their hinges and then I scrubbed them with sugar soap to get them nice and clean. We then filled the holes left by the old door handles with filler and managed to paint the back of every cupboard door and drawer, 26 in total.
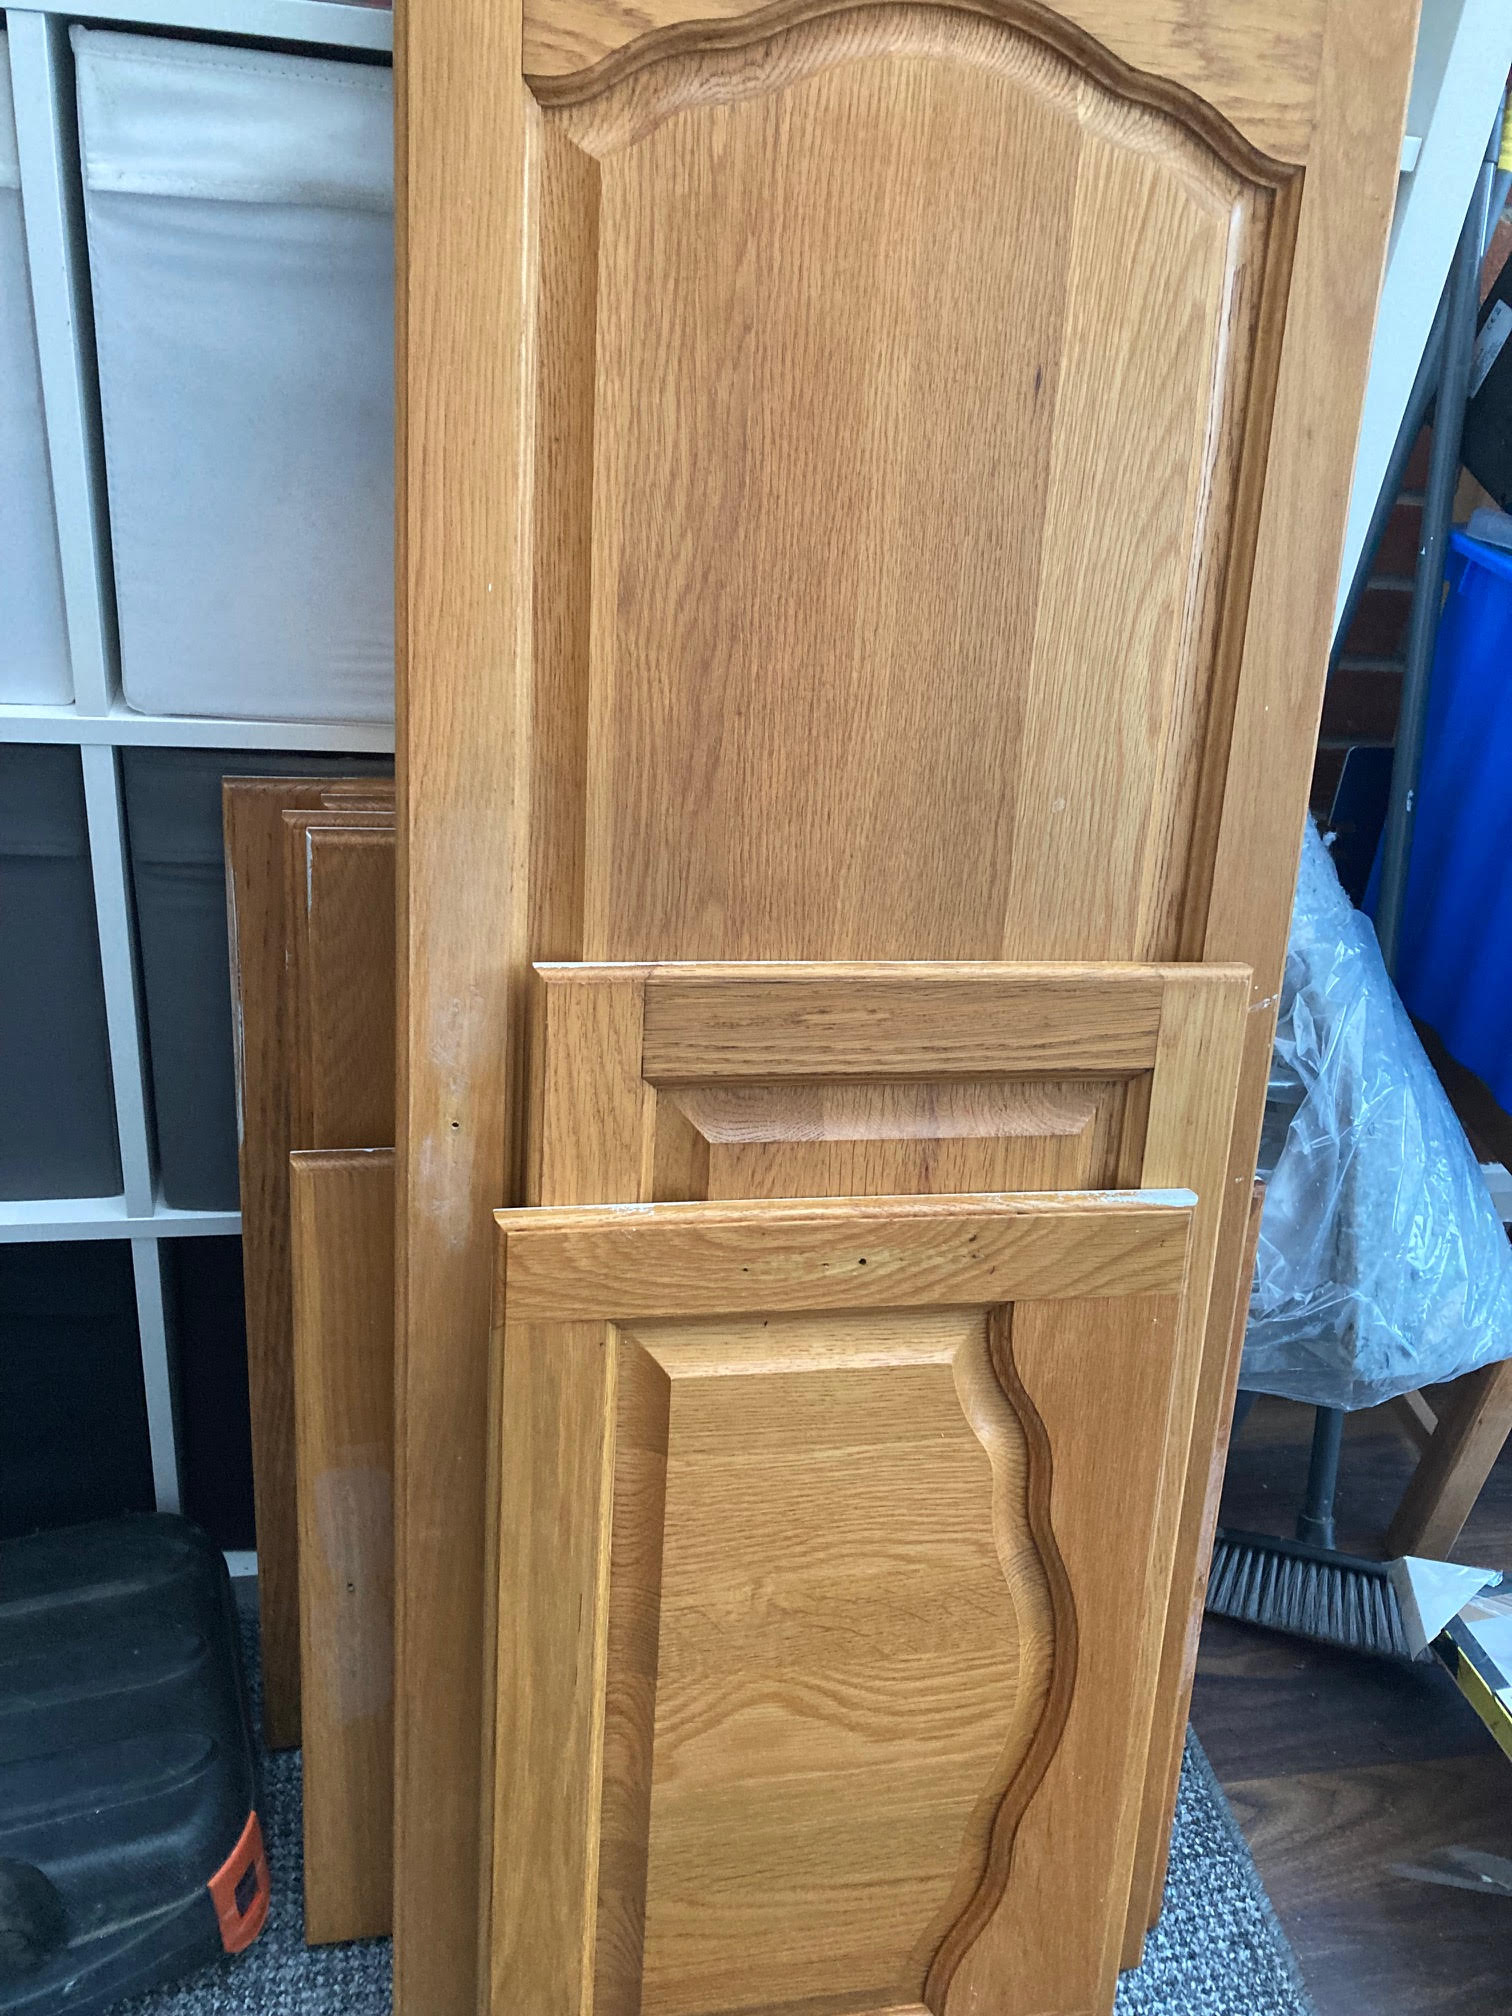
Sunday morning and I started by putting a coat of paint around the front of the cupboard carcasses while Pete did a second coat on the back of all of the drawers and doors. We also made a start on painting the ceiling.
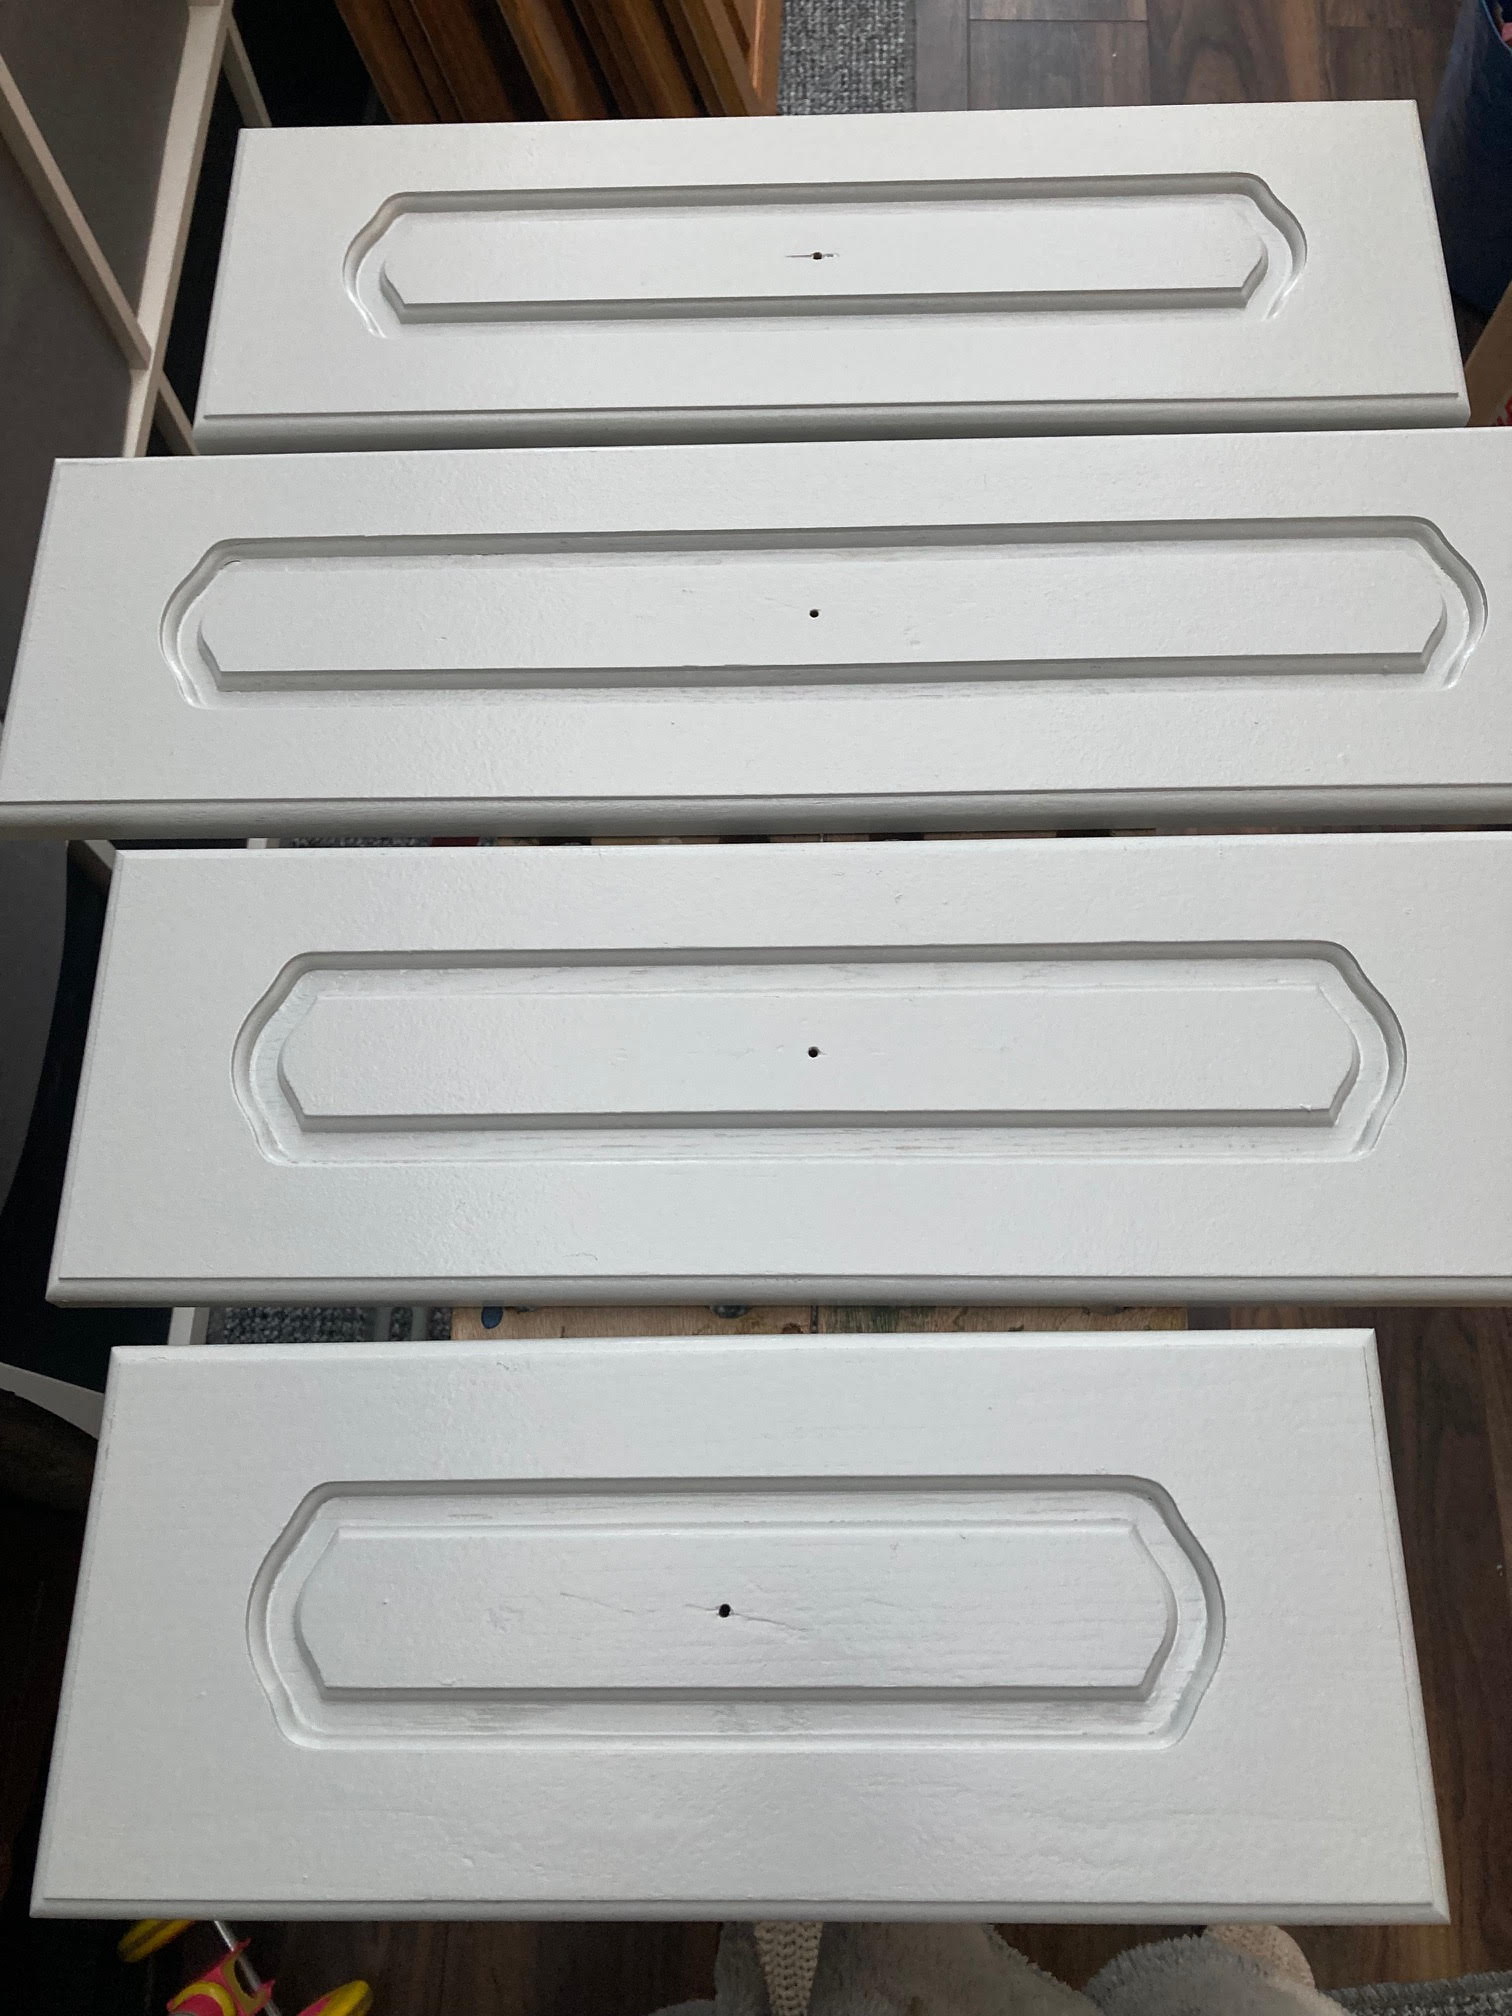
And that’s as far as we managed to get in weekend one before having to collect our daughter again. As it was the weekend we did want to spend some time with her before Pete went back to work on Monday.
Monday evening we were able to start getting paint on the fronts of the cupboards and drawers and plan to do a few each day and gradually get them back up in the kitchen. We’ll also need to add new doorknobs when they eventually arrive from Amazon.
Now the biggest job is out of the way, we’re planning to tackle one or two jobs each weekend in February until we’re done.
Week 1 – Paint walls and ceiling
Week 2 – Tiles
Week 3 – Finishing touches – this includes covering the sideboards, adding a new window ledge, frosting glass on the cupboards etc.
Week 4 – Flooring
I am so glad to be rid of the dark wood cupboards and even more excited to see the new flooring go down. After some gentle persuading (from me) we’re going for patterned flooring which would have been my first choice anyway but it took a while to get Pete on board.
We think flooring is going to cost around £180 which should mean we come in on budget but I can see us needing to pick up other things in between that might take us over the £500 mark.
After that, we should be done. I’m excited but also nervous. We love DIY and Pete is pretty skilled when it comes to this sort of thing but I’m always still worried it won’t end up looking anything like we planned!