So, it’s now been three weeks since we started updating our kitchen so I thought I’d do a little update on how things are going.
Want to read the first two parts of the kitchen update?
Budget Kitchen Makeover Update: Part 1
This weekend we decided to take a break from the kitchen make-over as we had a lot of family commitments and to be honest we just wanted a break from all the stress and mess of renovation.
Here are the main things we achieved in the first two weekends of updating our kitchen:
- Removed all doors and drawers, removed old handles and filled holes.
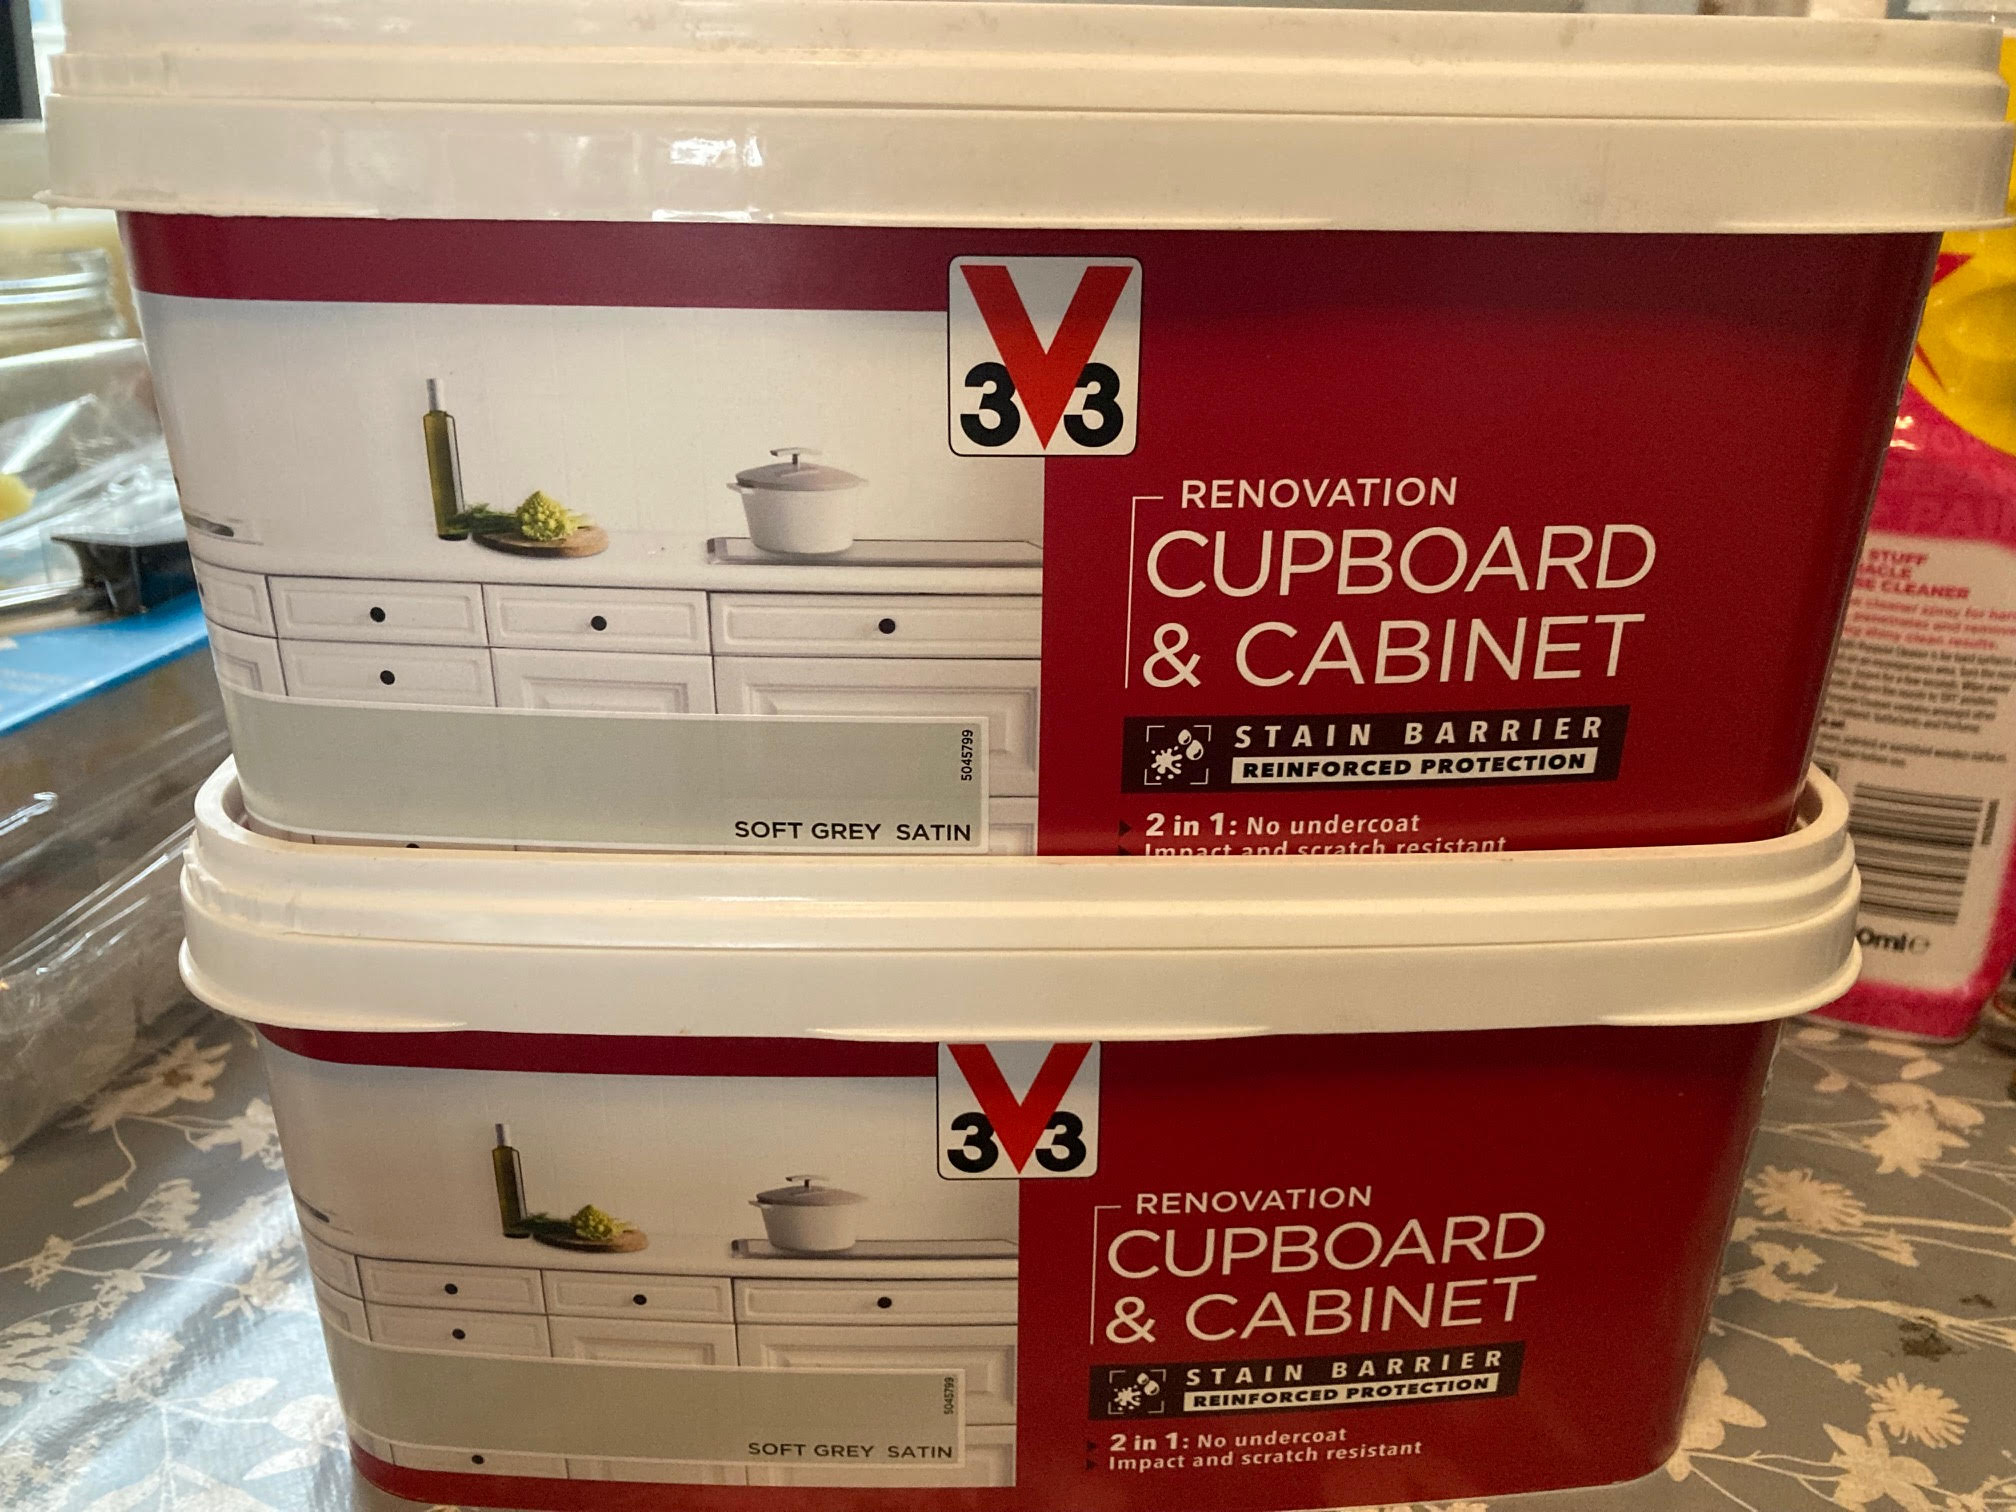
- All cupboard doors and drawers were cleaned, sanded and repainted using the V33 cupboard paint in soft grey.
- New handles/kobs were added and then all cupboards and drawers were rehung.
- Two coats of white paint on the ceiling and walls.
- Kickboards and sides of cupboards are painted in soft grey.
- Started to paint the edges of the countertops – more on this in a minute!
- More general deep cleaning and sorting of cupboards.
- Frosting of glass cupboard doors.
While this might not sound like much, there were 26 cupboards and drawers which each needed three coats of paint on each side with six hours drying time between each coat of paint.
Our house isn’t huge so we were limited in how many we could paint at a time.
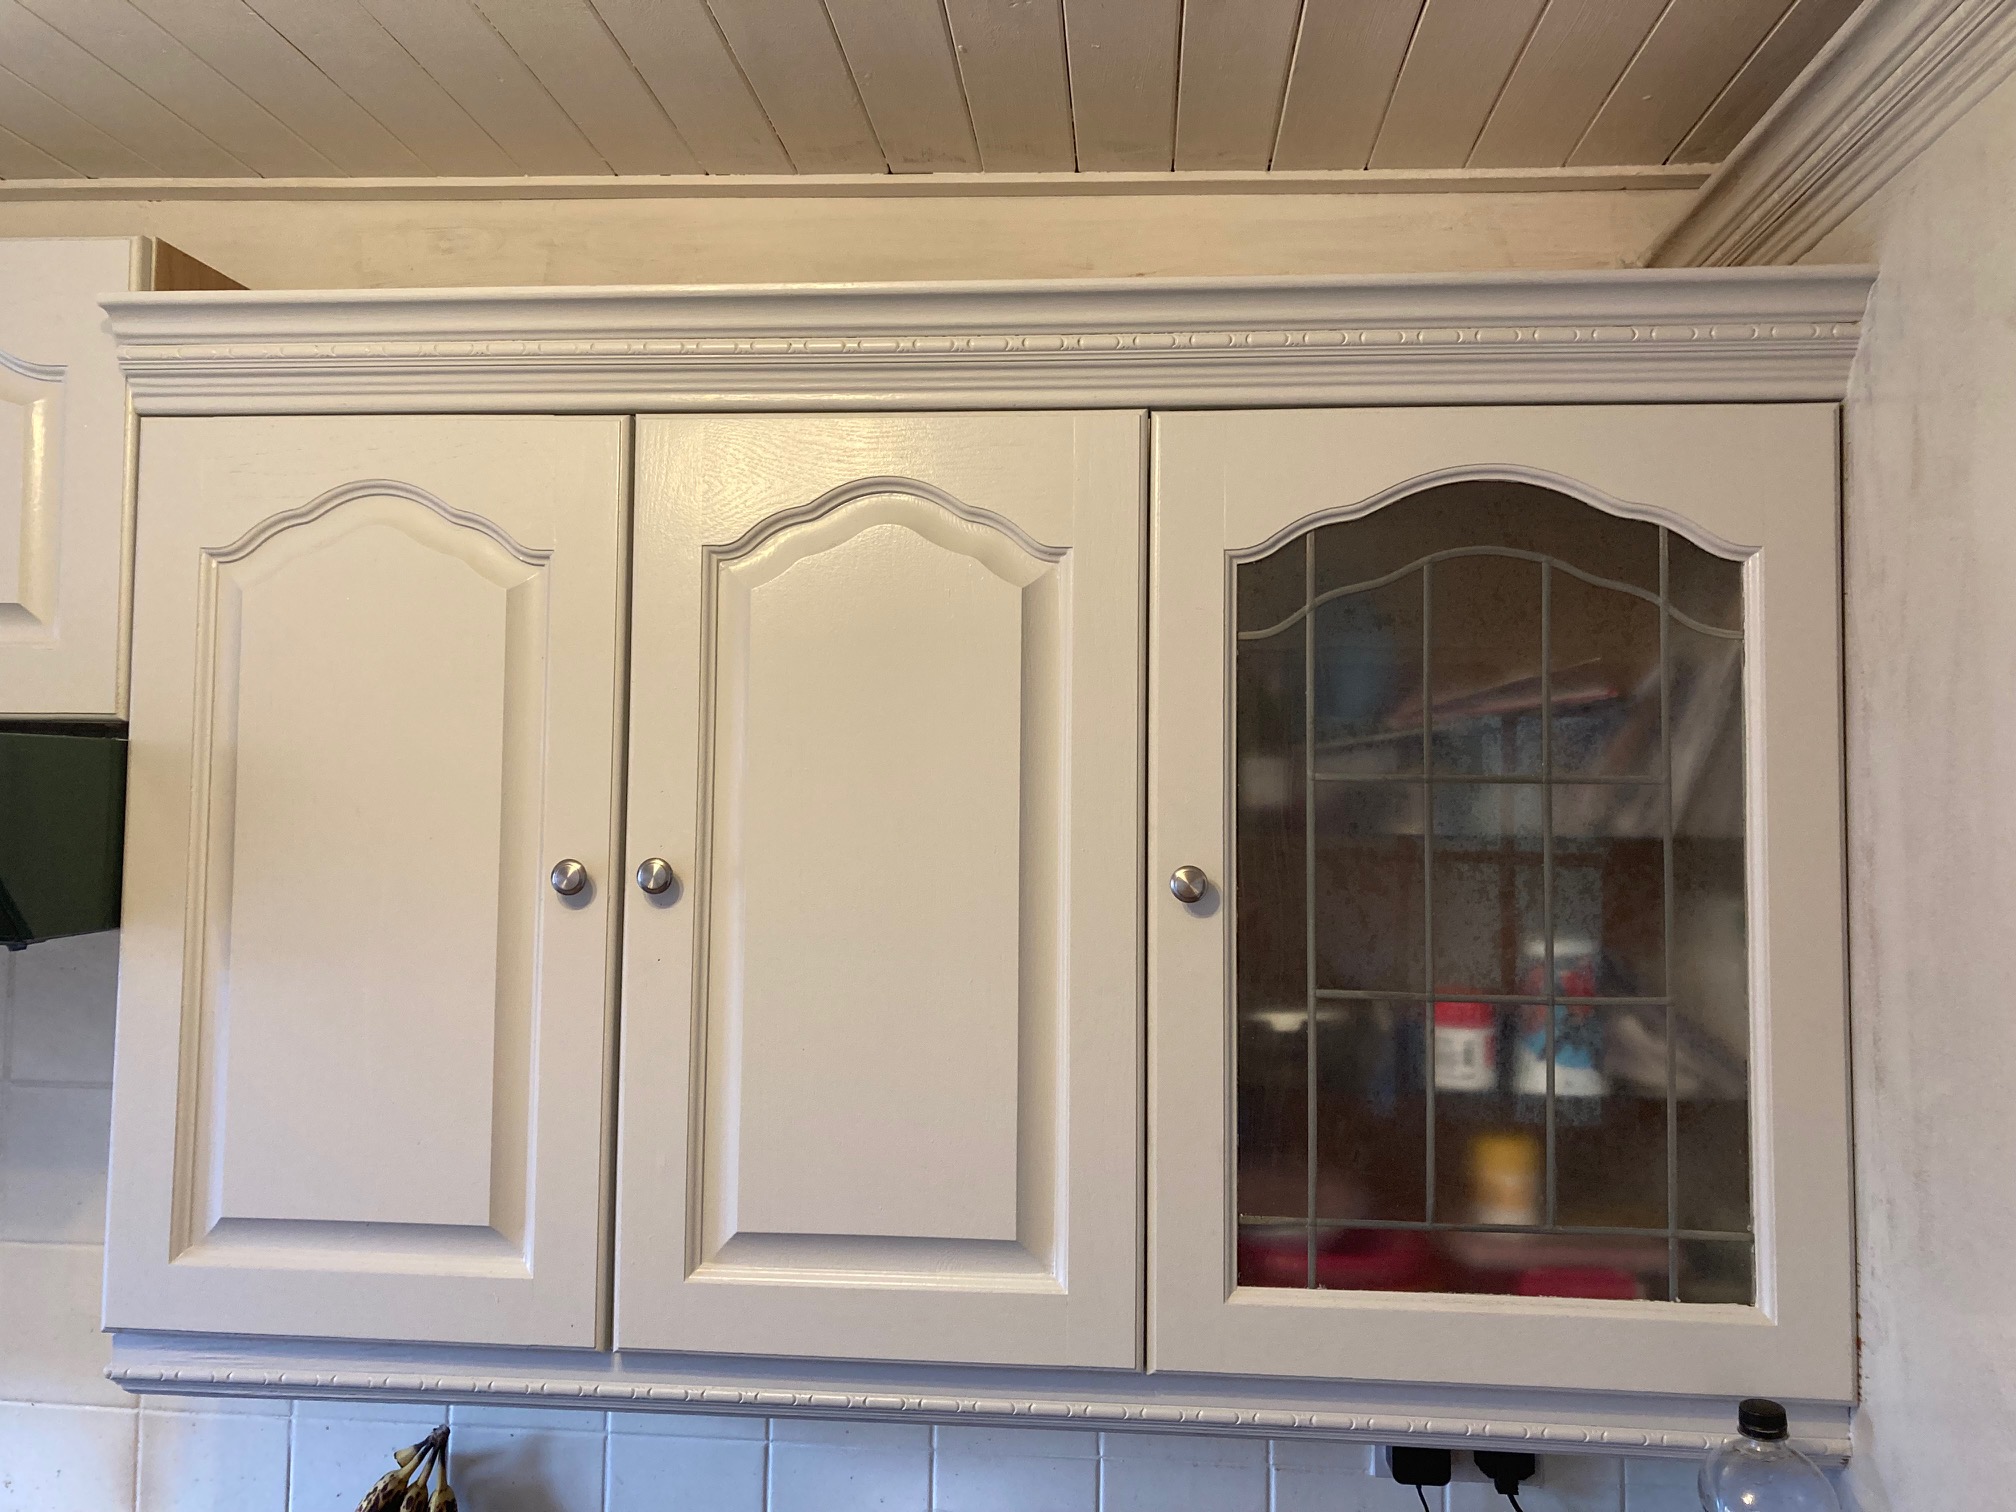
We also had an issue where the old cupboard door and drawer handles were really difficult to remove as they had been glued on. They took ages to get off and then the door underneath needed sanding and filling.
Whitewashing the walls was harder than we anticipated, with some areas needing several thick coats. Our kitchen ceiling is wood panelled which was also difficult to paint and took way more time than we anticipated.
However, now all of the doors have been painted and rehung they do look great and the kitchen looks much lighter already which is what we were hoping to achieve.
The next things we need to do are:
- Give the ceiling one more coat of paint.
- Add colour to the walls.
- Cover the tiles with the new vinyl tiles.
- Install the splashback behind the cooker.
- Add windowsill to the small window.
- Redo the floor with vinyl floor tiles.
- Install new light fittings.
- Change countertops.
Changing the countertops isn’t something we had originally planned to do but as they have a decorative edging on them they can’t be covered (which was our original plan) and the current brown just doesn’t go with the rest of the kitchen.

We started painting them but we’re not keen on how that looks either, so we might have to stretch the budget a bit further and buy some new ones!
And that’s it really. There’s only so much we can do each week around a toddler and just general life so we think we’ll be working on this project for a fair few weeks yet!