Want to spruce up an old bedframe? We recently repainted an old set of metal bunk beds. This post covers what we did, how much it cost and some handy tips incase you want to give repainting an old metal bedframe a try for yourself.
We recently decided to buy a new bed for our little girl. I mentioned it to my friend who casually said ‘ooh I’ve got one of those in the garage if you want it for free!’. Erm ‘Yes please!’.
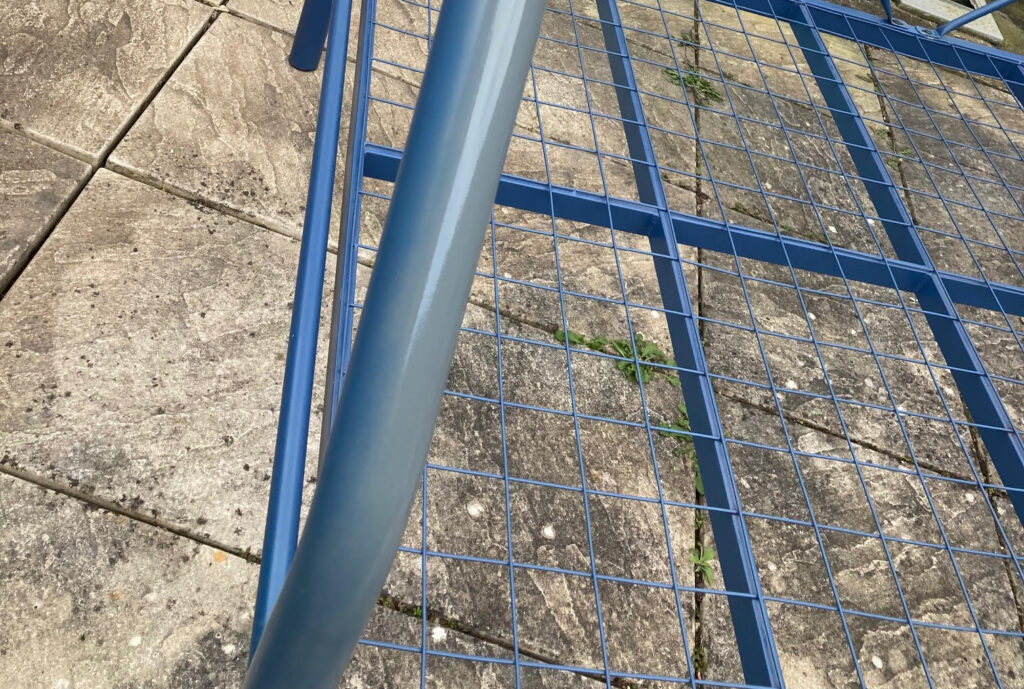
Free and secondhand are two of my favourite things. However the beds blue metal frame didn’t really go with our daughters purple and grey bedroom décor.
So we decided to give it a respray, not only to give it a new colour but to freshen it up too as the bedframe is over 20 years old. However, it’s still in perfect working order and having this from our friend rather than buying new saved us somewhere in the region of £350 as the bed we’d been planning to buy was wooden and quite expensive.
Benefits of Repainting Rather than buying new
There are lots of benefits to repainting your bedframe rather than buying a new one, especially if it’s still in good condition.
First of all, it’s really good for the environment to use things for as long as we possibly can before buying new.
Repainting rather than buying new could also save you lots of money and you can choose a colour that matches your new décor.

Repainting An Old Metal Bedframe: You Will Need
-
Sandpaper
-
Face Mask
-
Multi-surface Spray Paint – we used this one from Wickes. We used 6 bottles but in all honestly could have used an extra one for the odd touch-up. Depending on the colour of your bedframe you may want to use a primer first, especially if you’re changing from a dark colour to a lighter one.
-
Well-ventilated space – we chose to assemble the bedframe outside and paint it there.
-
Plastic sheeting to protect carpet/flooring/patio etc from getting painted.
-
Masking tape to cover any parts of the bed that don’t need painting.
Repainting An Old Metal Bedframe: What To Do
-
Ideally, you should do this in a well-ventilated space. We put the bed the outside but if that’s not an option remove as much furniture as you can from the room and open the windows. Place down plastic sheeting if using.
-
Wash the bed frame to remove any dirt and dust. As ours was outside we used a hose to give it a good rinse.
-
Use sandpaper to light sand over any bumps or nicks.
-
Once dry, it’s time to start painting the bedframe. You’ll need to wear a mask for this as the fumes are strong. If there any parts of the bed you don’t want the paint, such as chrome fittings, you’ll need to cover these with masking tape.
-
Start with primer (if using) and give a light coating. Keep the paint can moving to avoid a build up of paint which could run.
-
Allow the primer or first coat of paint to dry before adding the next coat. Although the paint is usually quick drying, you should still leave an hour between each coat so ensure it has fully dried.
-
Repeat as needed until the whole frame is painted and well covered.
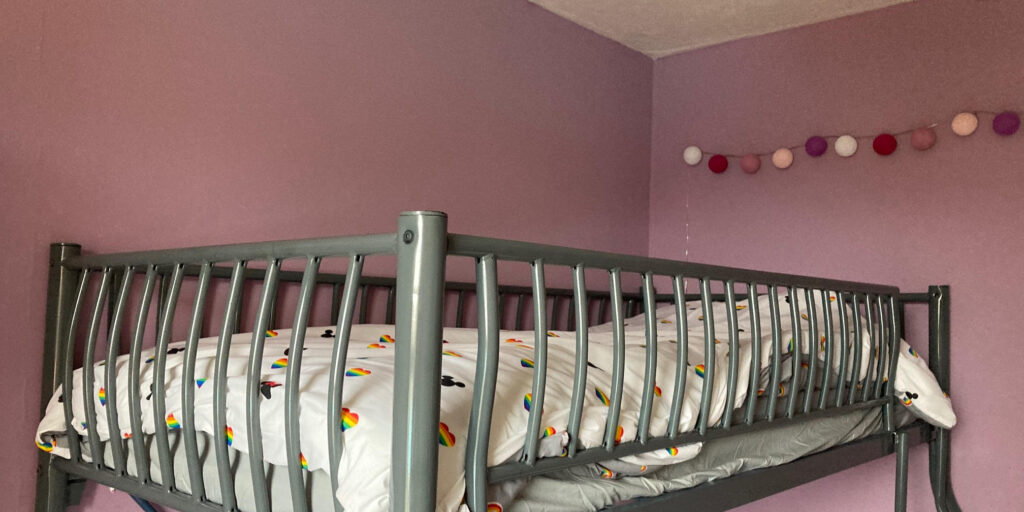
Below we have the finished bed in our daughter’s room (I’ve only pictured the top bunk as some things could identify her around her room).
We were so happy with the way this turned out. The grey goes well with her bedroom and we let her choose her bedding – can you tell she’s a big Mickey Mouse fan?
This was a fun project to work on and even with the cost of the paint and new mattresses we still spend half of what we would have buying new. I also love that we rescued something that could potentially have ended up going landfill.