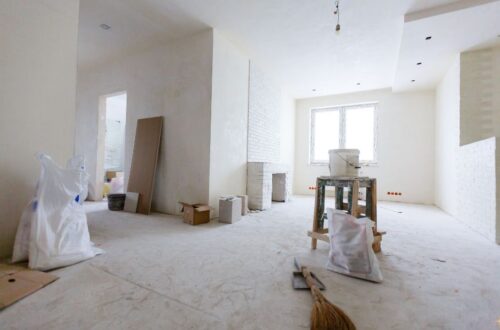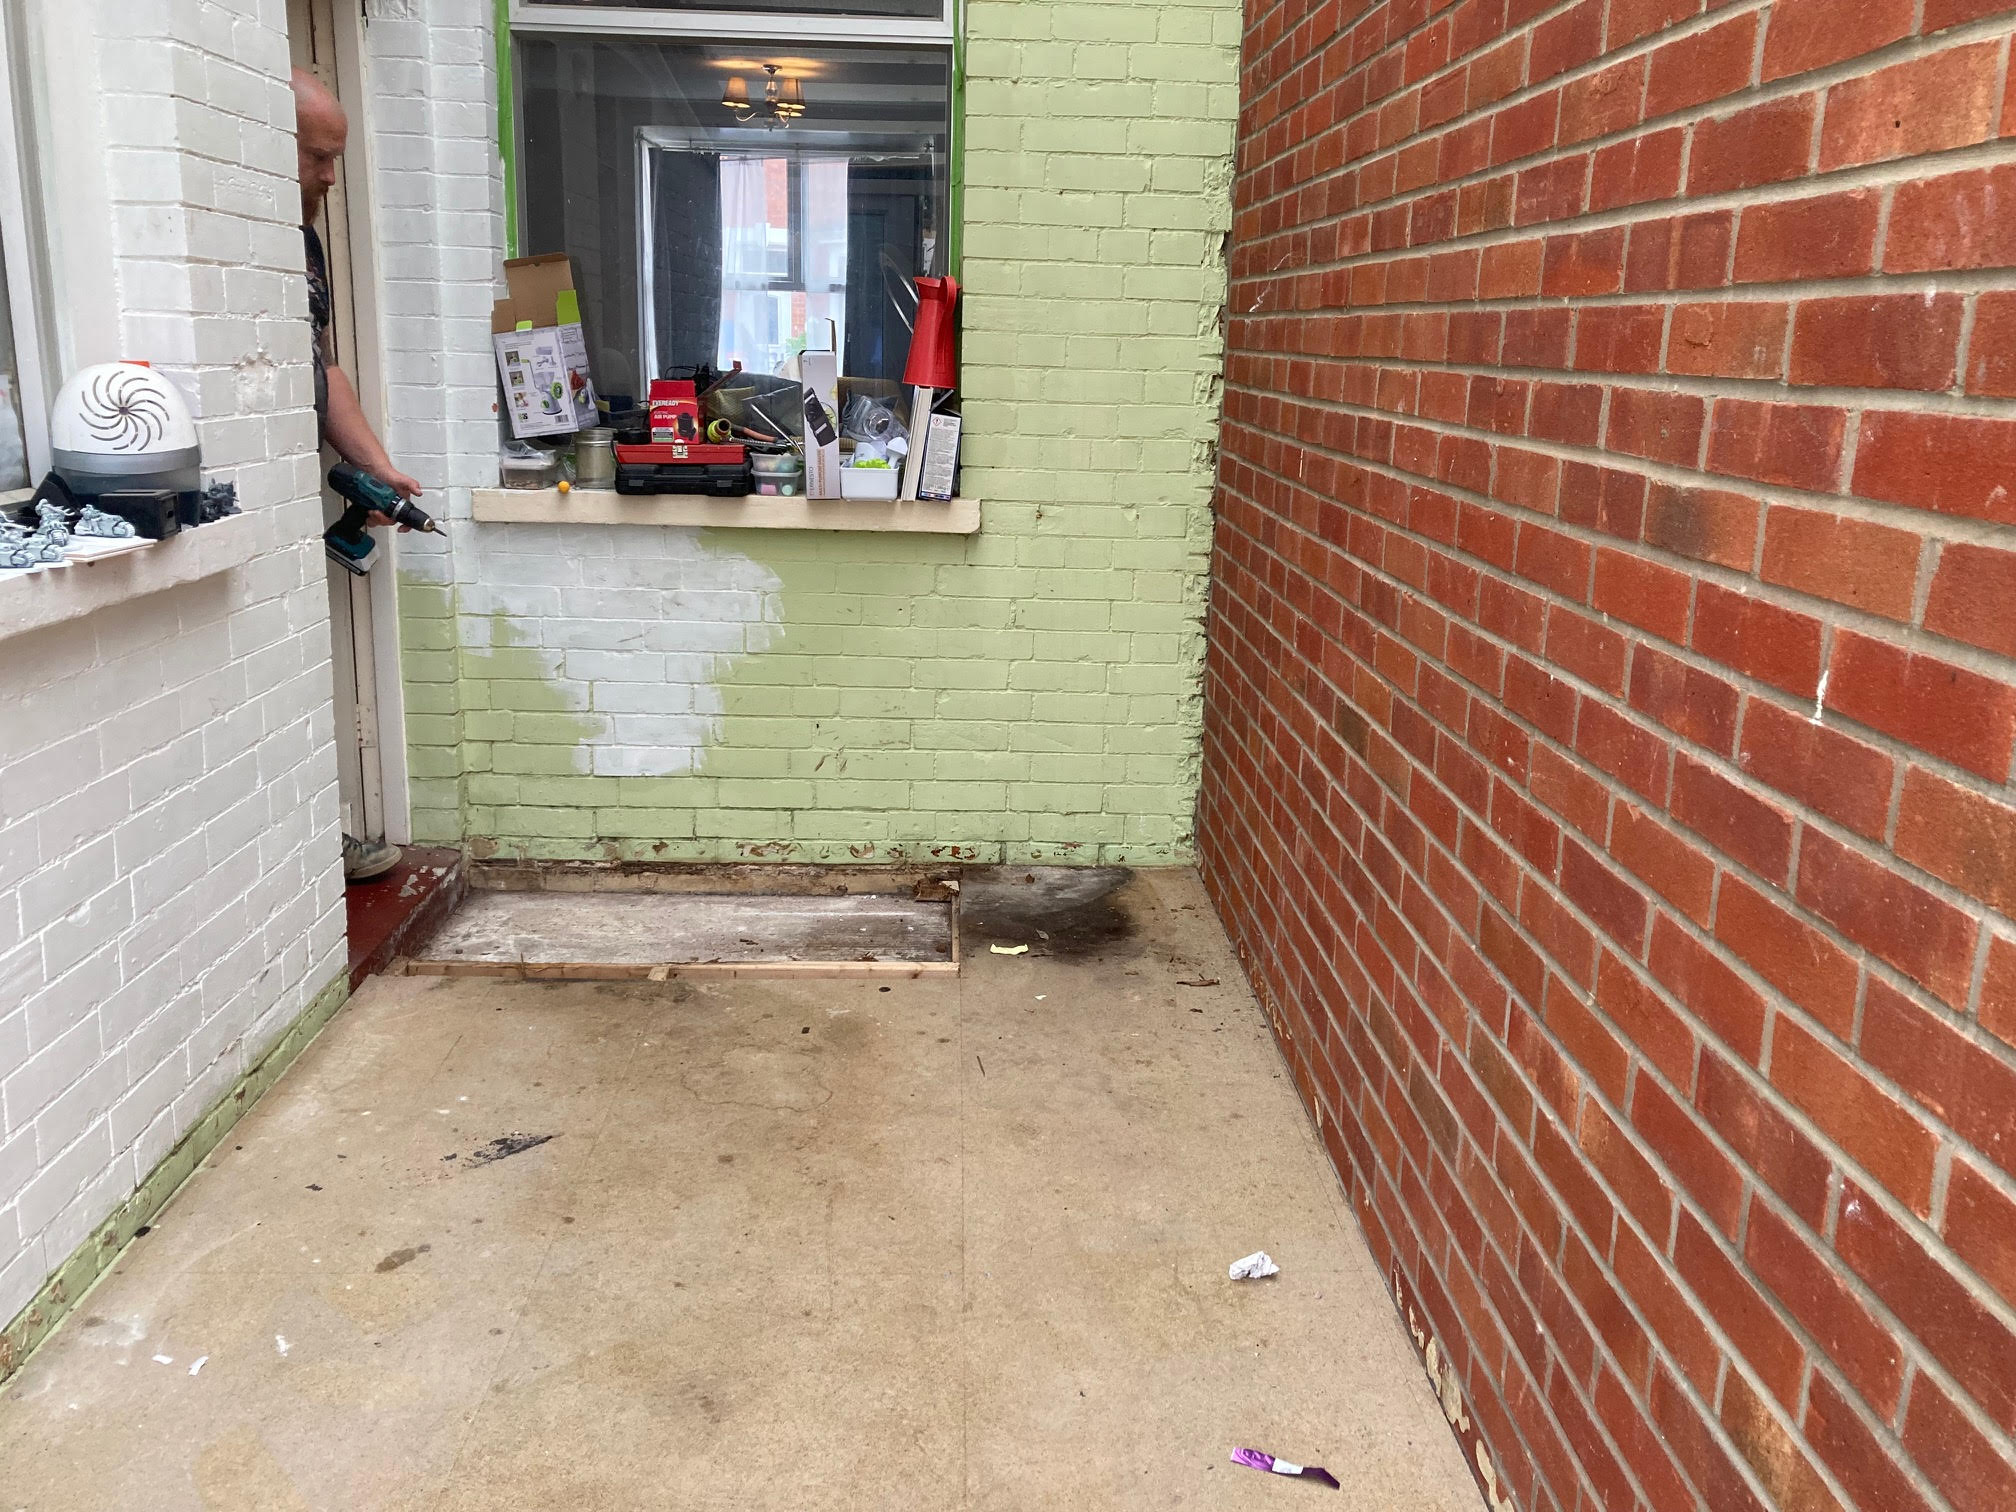
This weekend we’ve been working on our utility room floor. It’s not quite finished yet, but I really wanted to document some progress pictures and then do a blog post with a final reveal in a couple of weeks. As you can see from the image above it was a bit of disaster area!
First I want to talk a bit about what our utility room is and what we use it for. Essentially, it’s a ‘lean to’ conservatory, with french doors out to the garden and a fibreglass roof.
We tend to refer to it as the conservatory even though it’s more of a dumping ground than anything else! Utility room seems more appropriate although we don’t have electric or running water out there so we can’t put out washing machine in there.
The current plan is to completely refurb and add lots of storage for a combination of things – mostly items that are taking over other areas of the home such as toys from the living room and gadgets from the kitchen.
We also plan to add a shoe rack and some coat hooks for muddy boots and shoes after our long walks. Trip to Ikea planned for this coming weekend!
Utility Room Floor Update
There were quite a few issues with our utility room floor -the biggest one being a gaping hole right as you walked in from the kitchen!
When we pulled up the lino to see what was going on, we could see the original chipboard had rotted away. Probably due to a leak in the roof – as we don’t go out there that often, especially in winter we hadn’t even noticed any water.
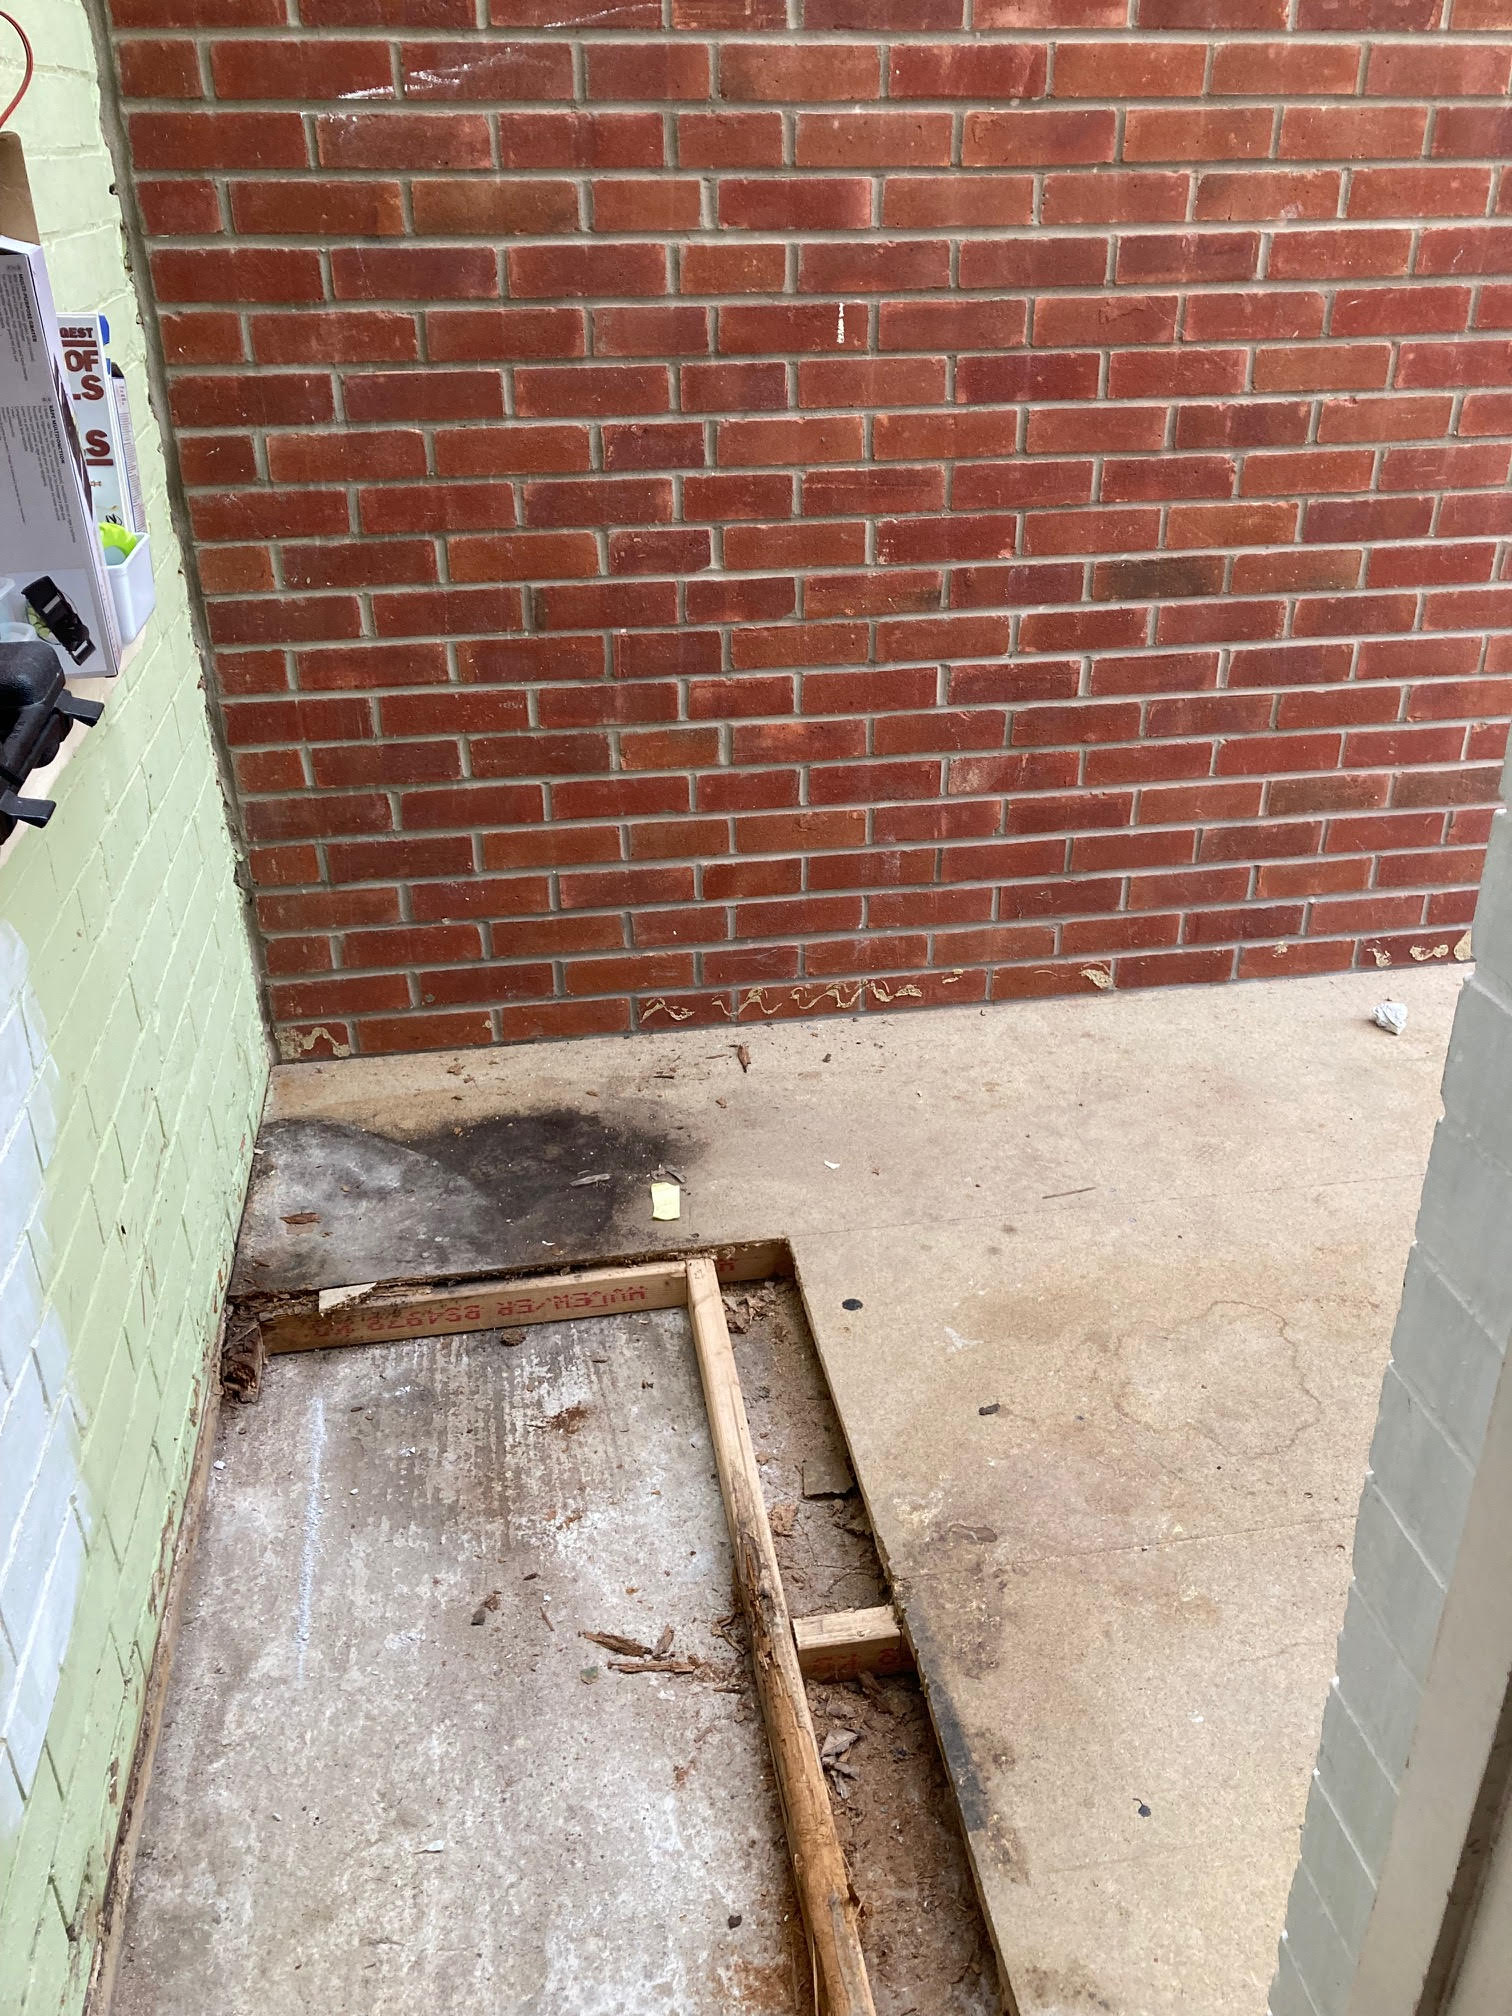
Anyway, as we pulled up the rest of the Lino we noticed this wasn’t the only area that was rotten so decided it was time for a whole new floor.
Pete ripped up all the existing chipboard and floor joists ready to replace them. On doing this we discovered the entire floor is on a slight downward slant – we think this contributed to the rotting of the floor near the back door where there aren’t any leaks – water had been running down from the original leak.
Over the weekend Pete built a whole new set of floor joists for the new floorboards to sit on which looked like this.
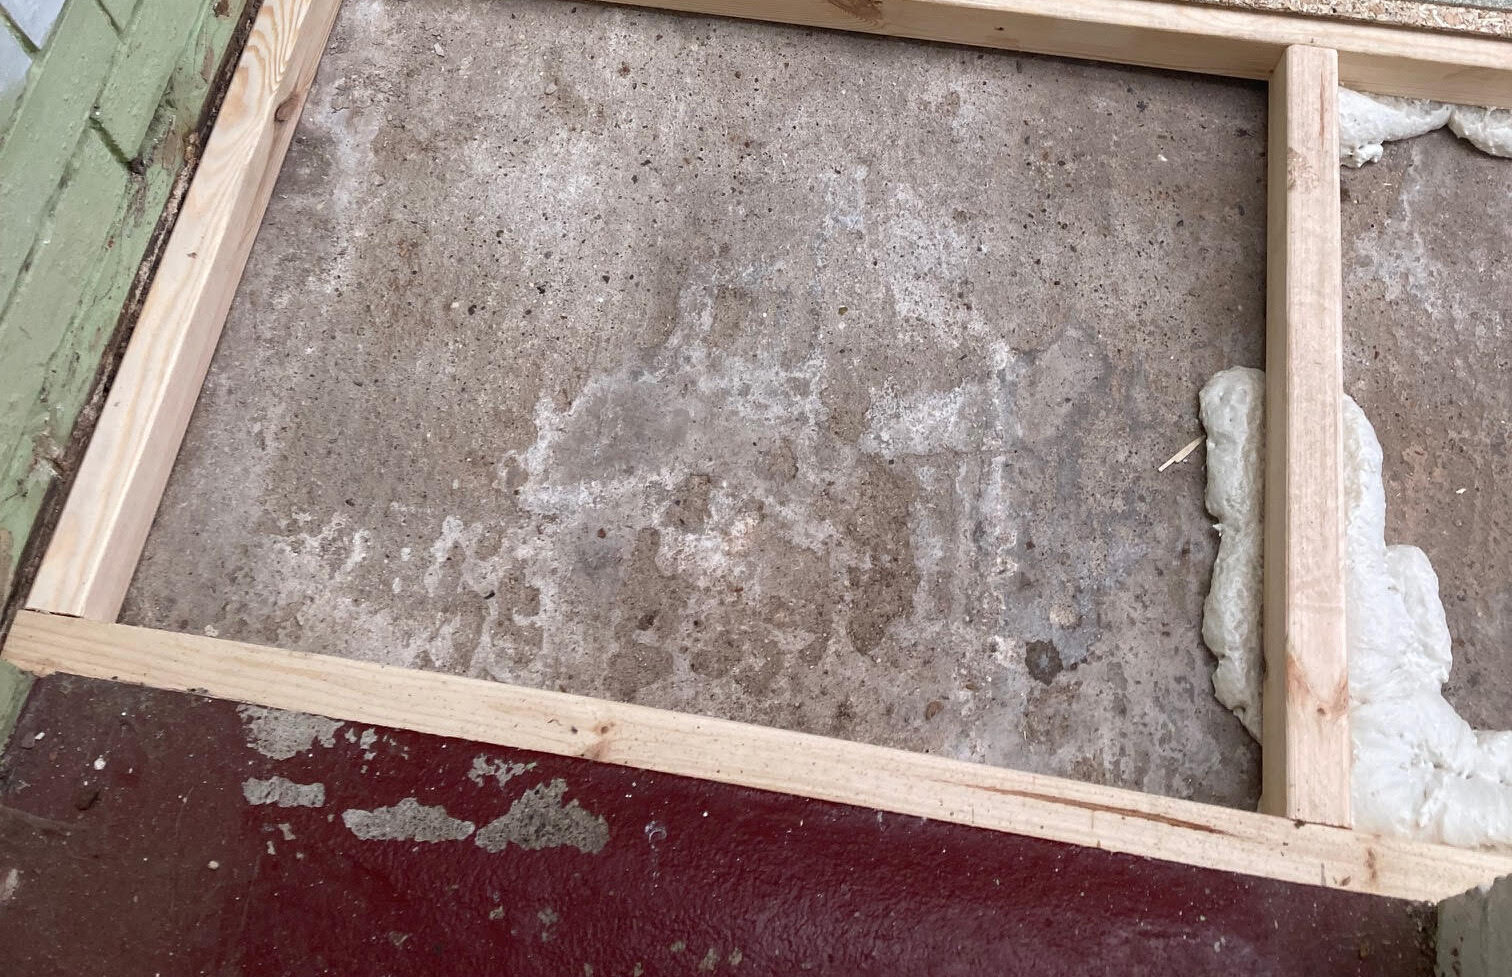
He then used some extra timber, window packers and expanding foam to level off the floor at the other end of the room where it was uneven. He’s a bricklayer by day so loves getting things exactly level!
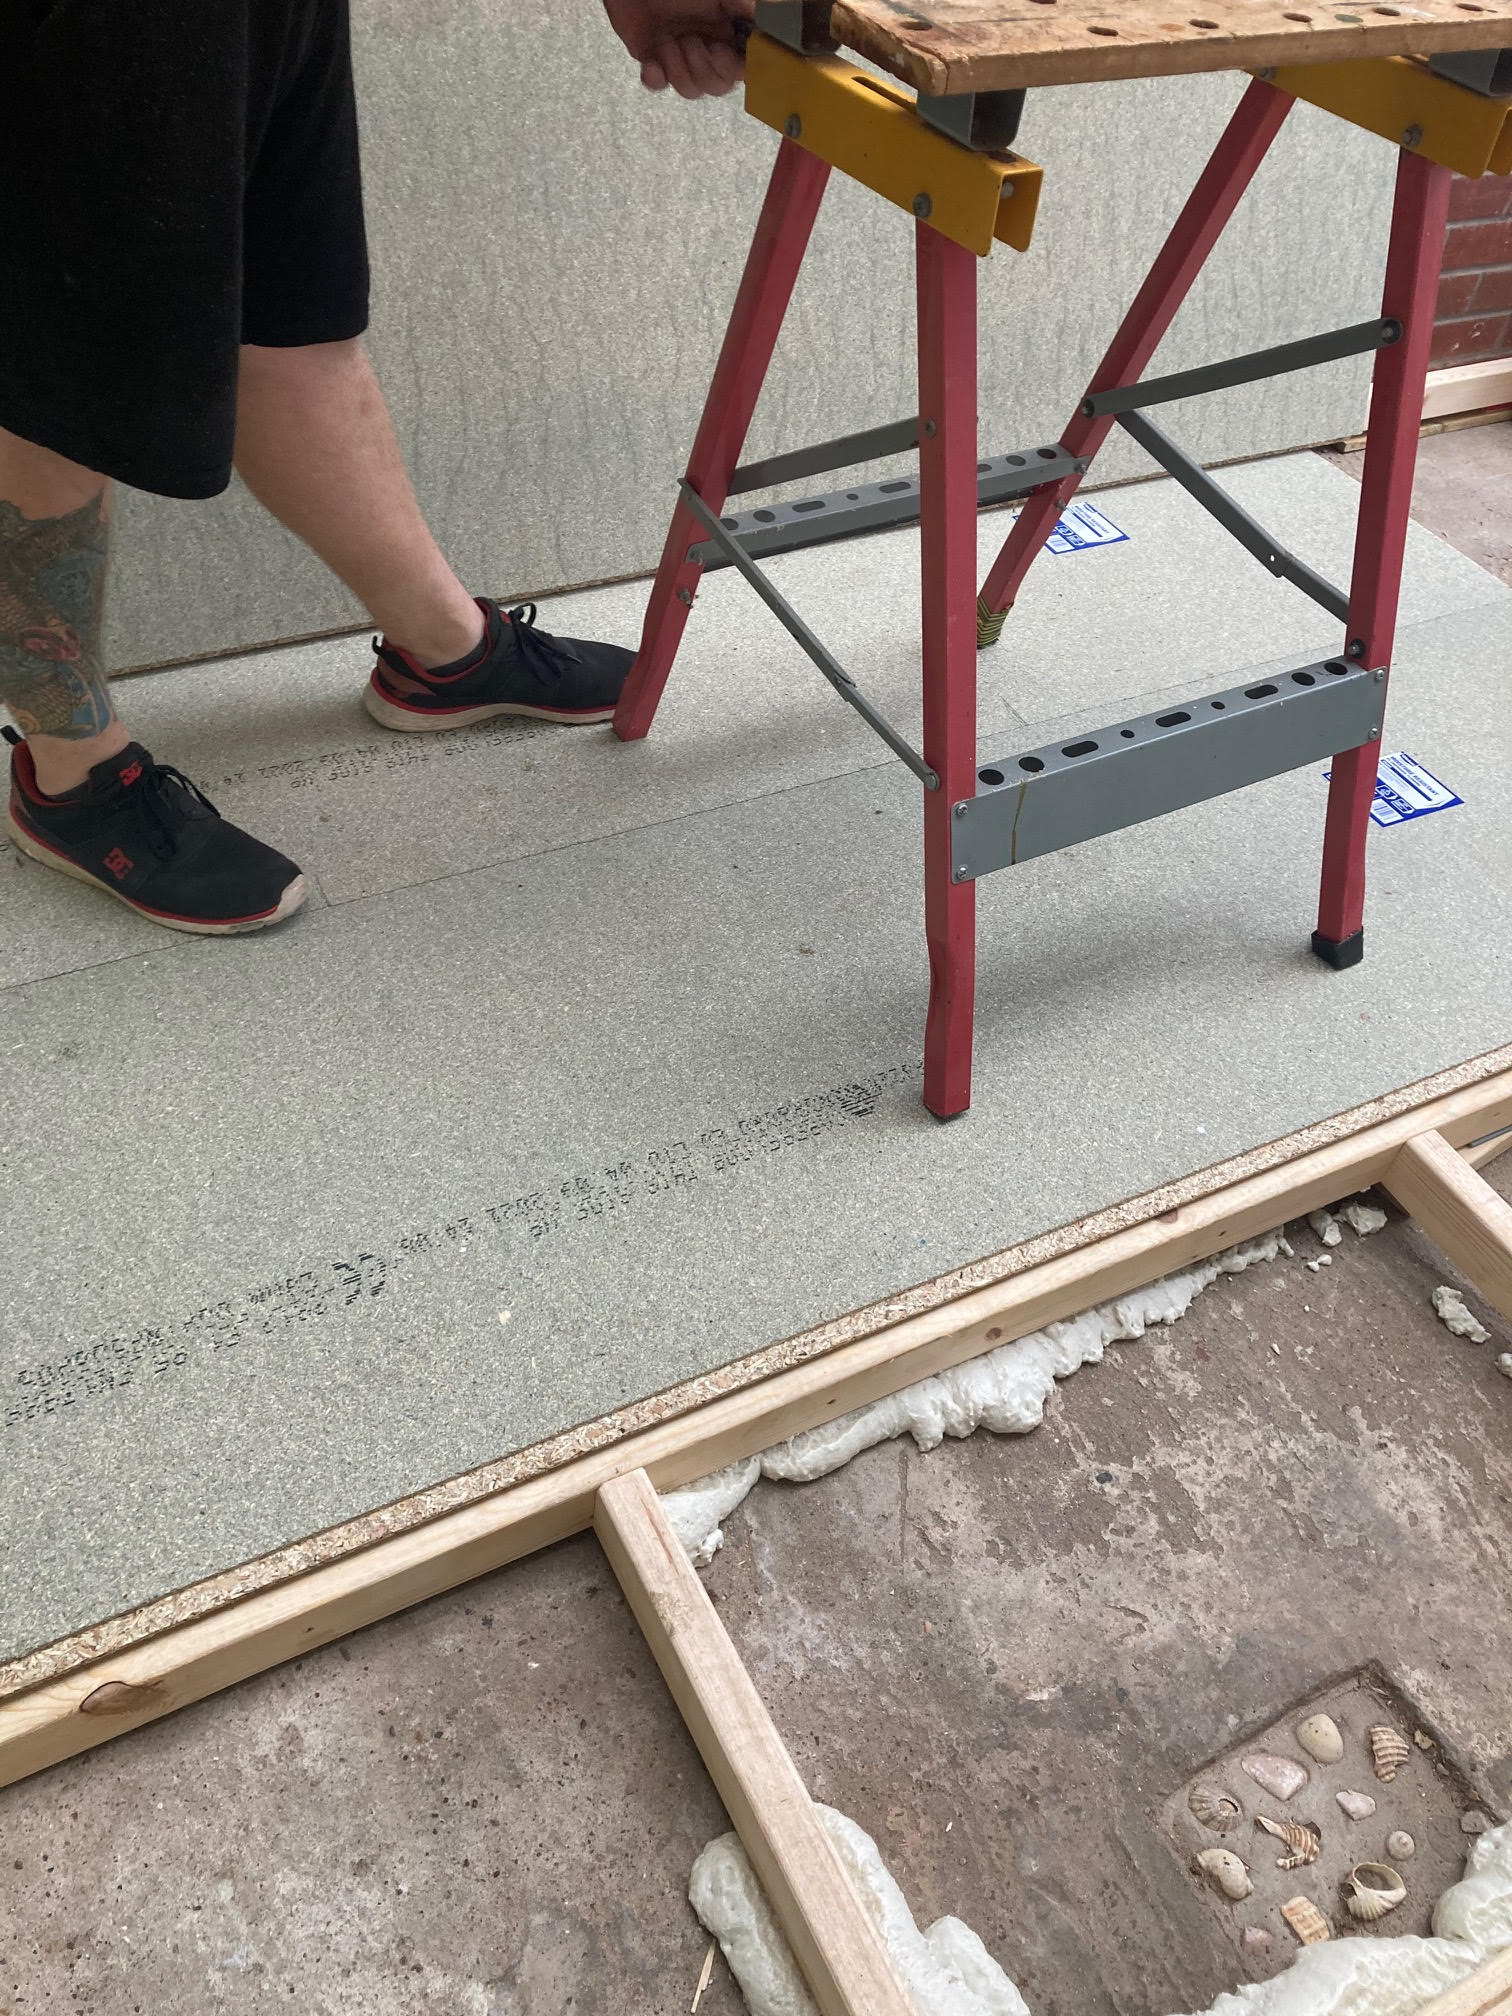
Then we added new floorboards ready to add the final layer of flooring on top.
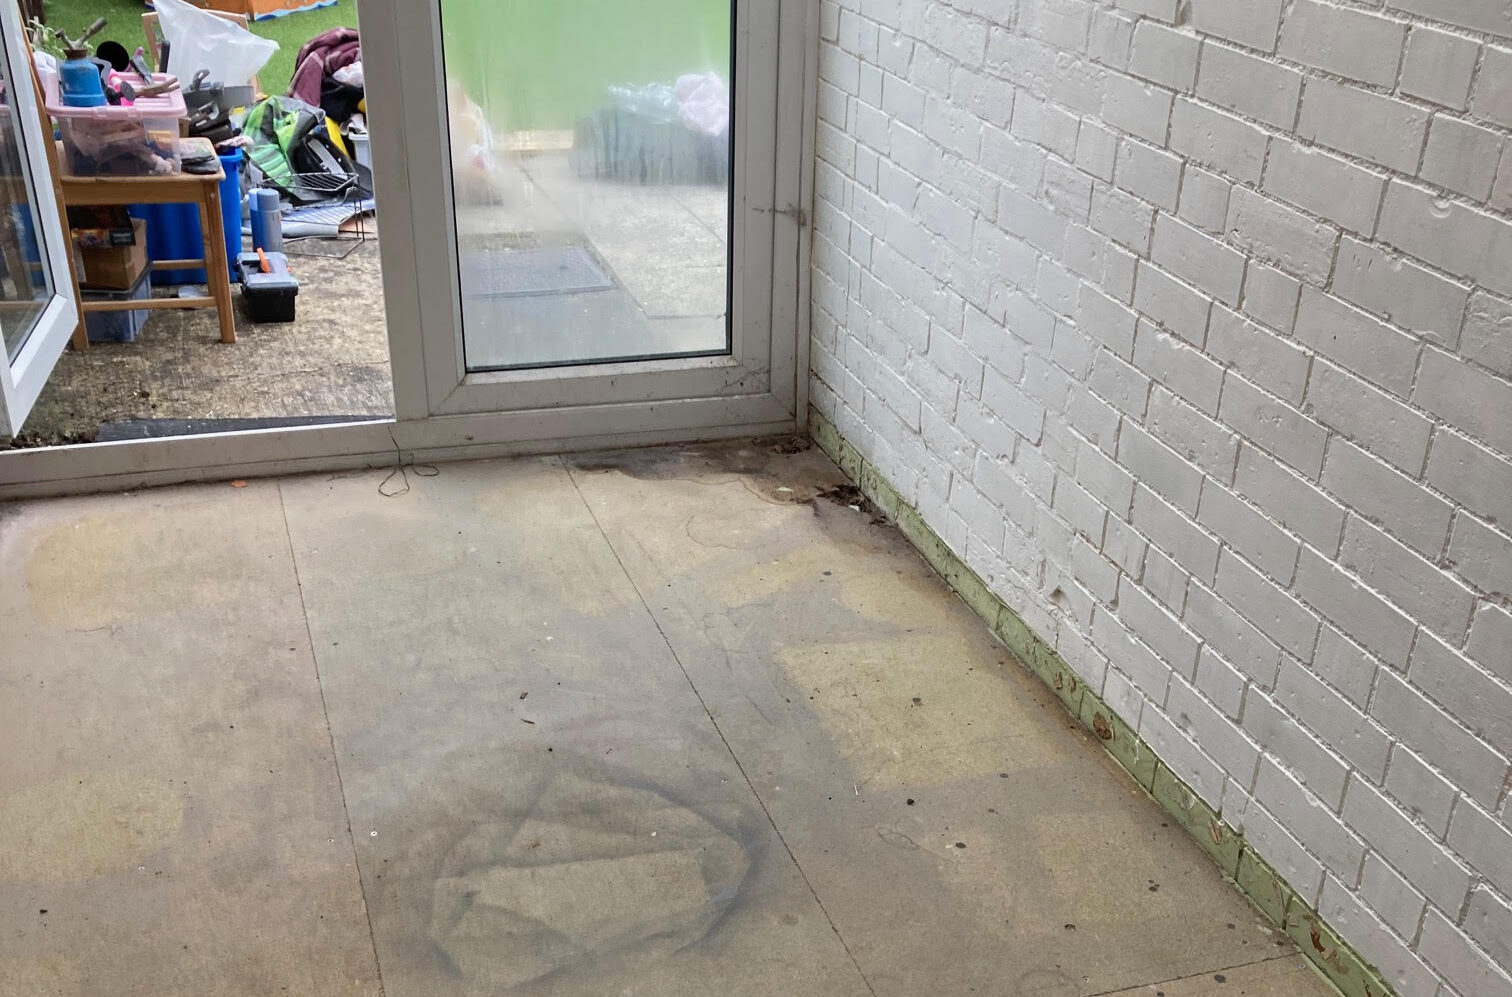
And here is a quick sneak peek of the new floor! We deliberated a lot between laminate and vinyl flooring but in the end, went with laminite.
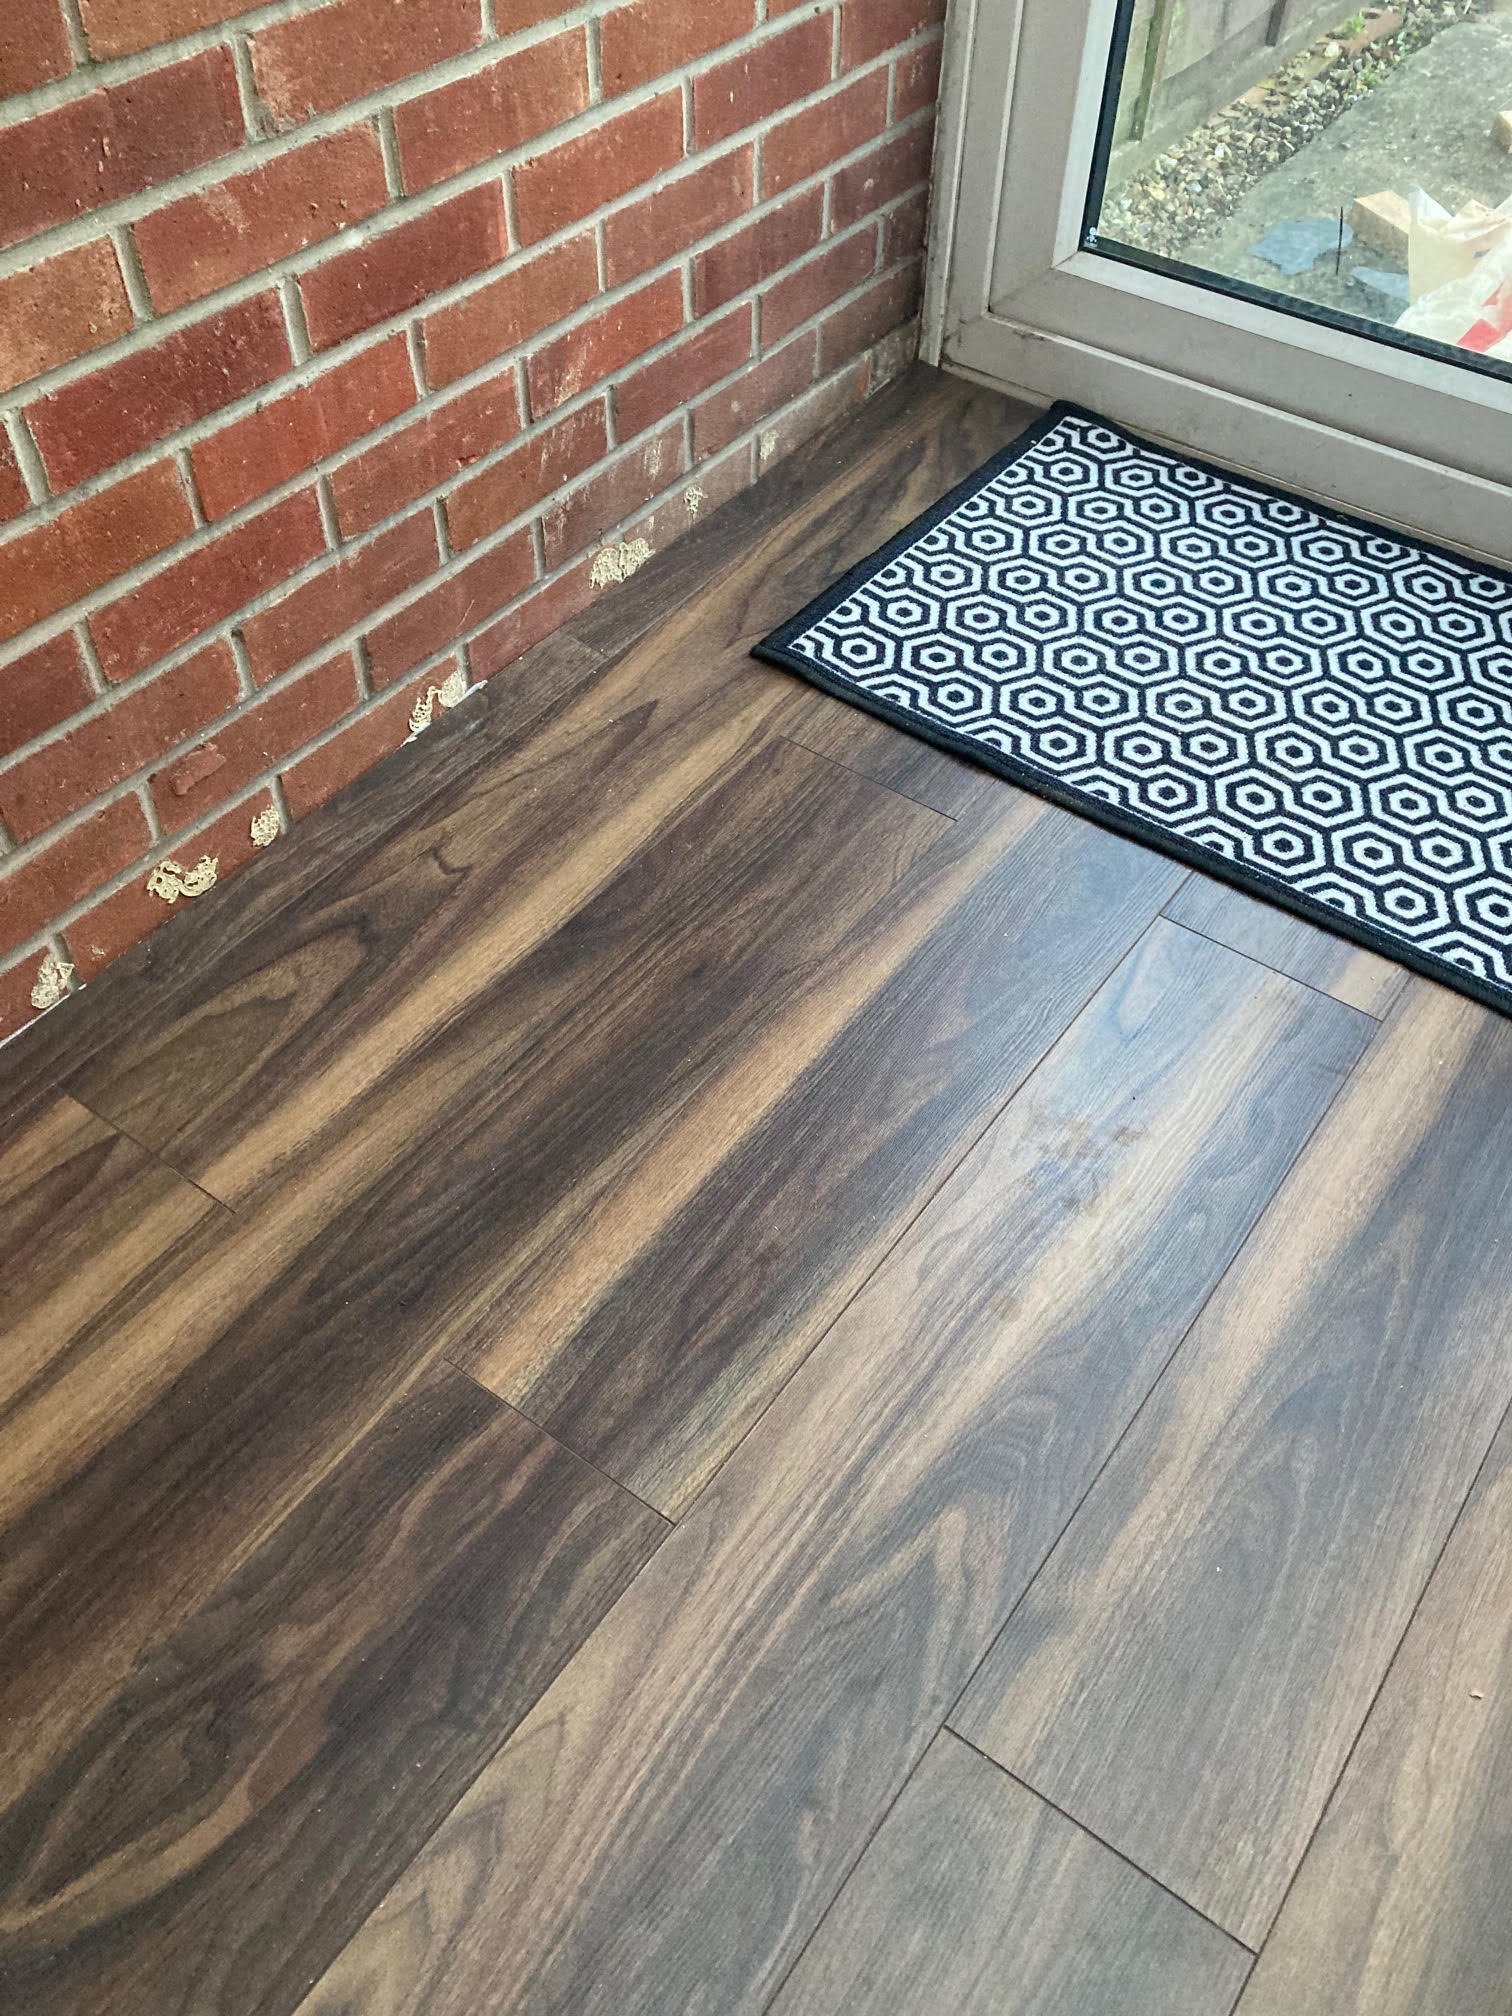
Despite how food the floor is looking there’s still lots to do!
- Repaint the wall with masonry paint – you can see where we got halfway through and then stopped before!
- We’ve resealed the roof but need to check it’s watertight!
- Add a skirting board around the edges of the room.
- Add furniture – we plan to add a 25 box Kallax unit along the redbrick wall and also add a shoe rack and coat hooks as well as moving in a chest of drawers from our dining room.
- Runner rug to go in the middle of the room as the floor is currently quite slippy.
While this room isn’t the biggest undertaking we’ve done in our home, we’re really pleased with how it’s going so far. Another job we can tick off our seemingly endless list of home jobs in a few weeks time!
I’m also really looking forward to all the extra storage it’s going to provide! I’ll be back with another update soon and hopefully some finished pictured too.