One way to give your kitchen a bit of a lift is by repainting kitchen cupboard doors and drawers. It’s a much cheaper option than buying a whole new kitchen and is something we’ve recently done as part of our budget kitchen make-over.
When it comes to repainting your kitchen cupboards, there a two main routes you can go down.
The first is to hire a professional company to do the job for you. This option still works out as being significantly cheaper than buying a whole new kitchen and will allow for a professional finish and a lot less work on your part.
However, it can still cost several thousand pounds.
The other option is to attempt the job yourself. While it can be time-consuming, it is one of those jobs that’s pretty much anyone can do. It’s something we did recently as part of our budget kitchen make-over.
Related Posts:
Our Budget Kitchen Makeover Plans
Budget Kitchen Makeover Update: Part 1
Budget Kitchen Makeover Update: Part 2
5 Tips For Repainting Kitchen Cupboard Doors
Here are our tips for repainting your kitchen cupboard doors.
1. Invest In Good Quality Paint
When repainting our kitchen cupboard doors (and drawers) we opted for a really good quality paint. While we were DIYing to save some money, we thought the investment of buying slightly more expensive paint was well worth it.
We used this V33 in a soft grey which cost £39 per tub. We did three coats on a total of 26 cupboard doors and drawer fronts, plus three coats on our kickboards, the sides of some the cupboards and the decorative pieces along the tops of the cupboards.
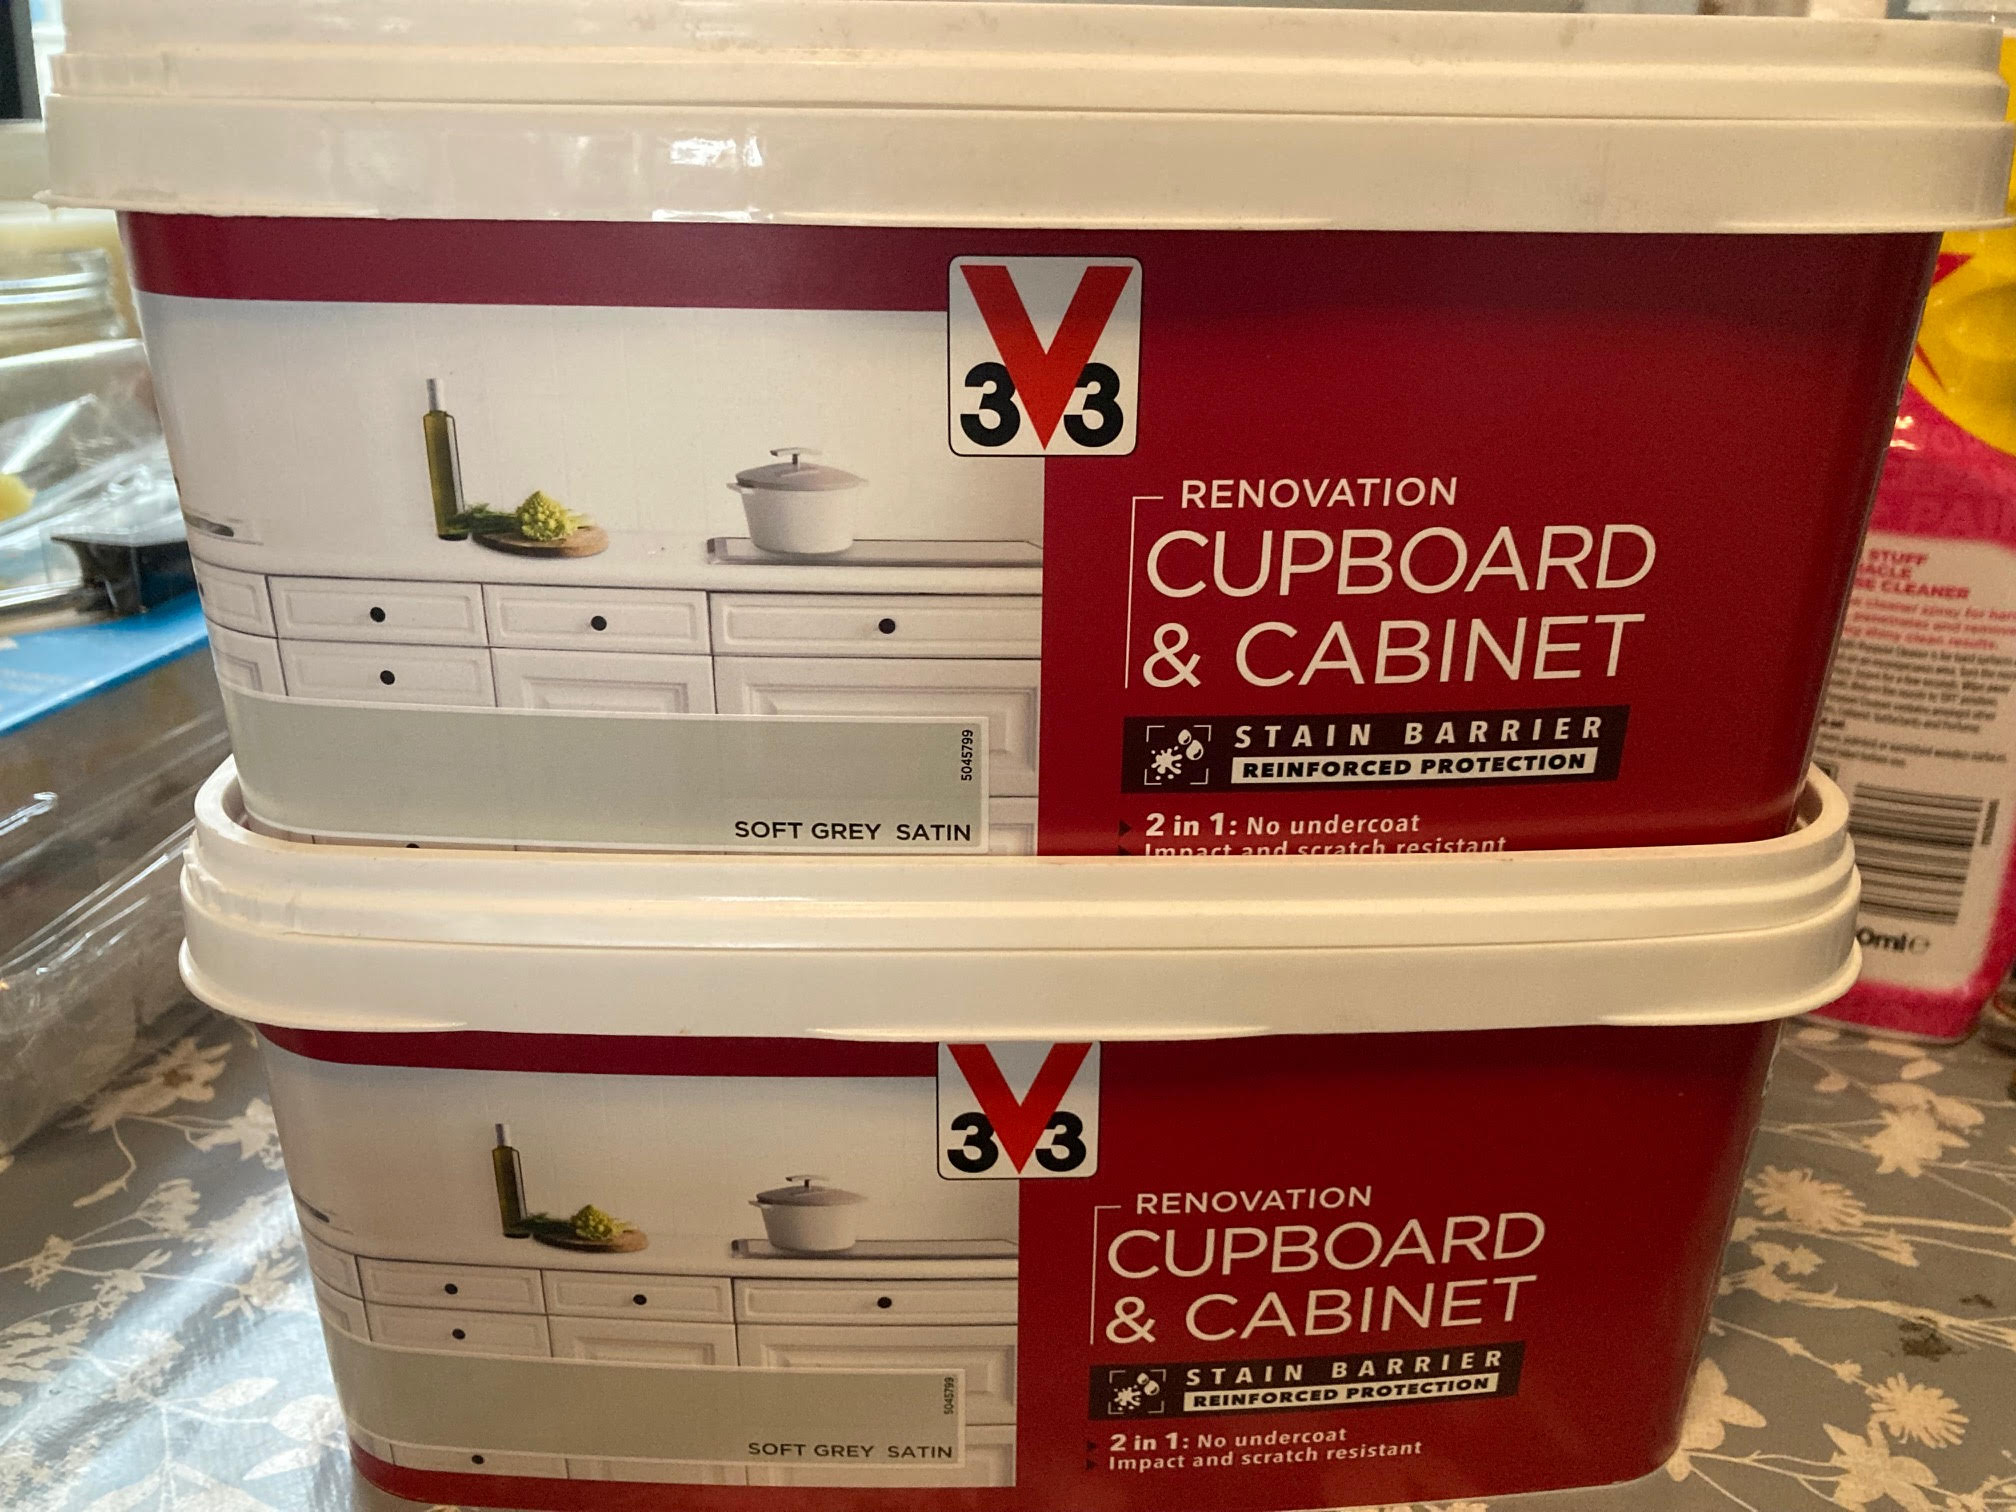
The paint was so easy to use and had really good coverage – I would definitely recommend it for this type of project. We had also assumed we’d need to sand the doors before painting but the instructions on the paint said this wasn’t required which save us a huge amount of time.
2. Remove Doors Before Painting
Sounds obvious but removing the doors and drawer fronts before painting will make life much easier, even though removing and rehanging them might sound like a massive pain.
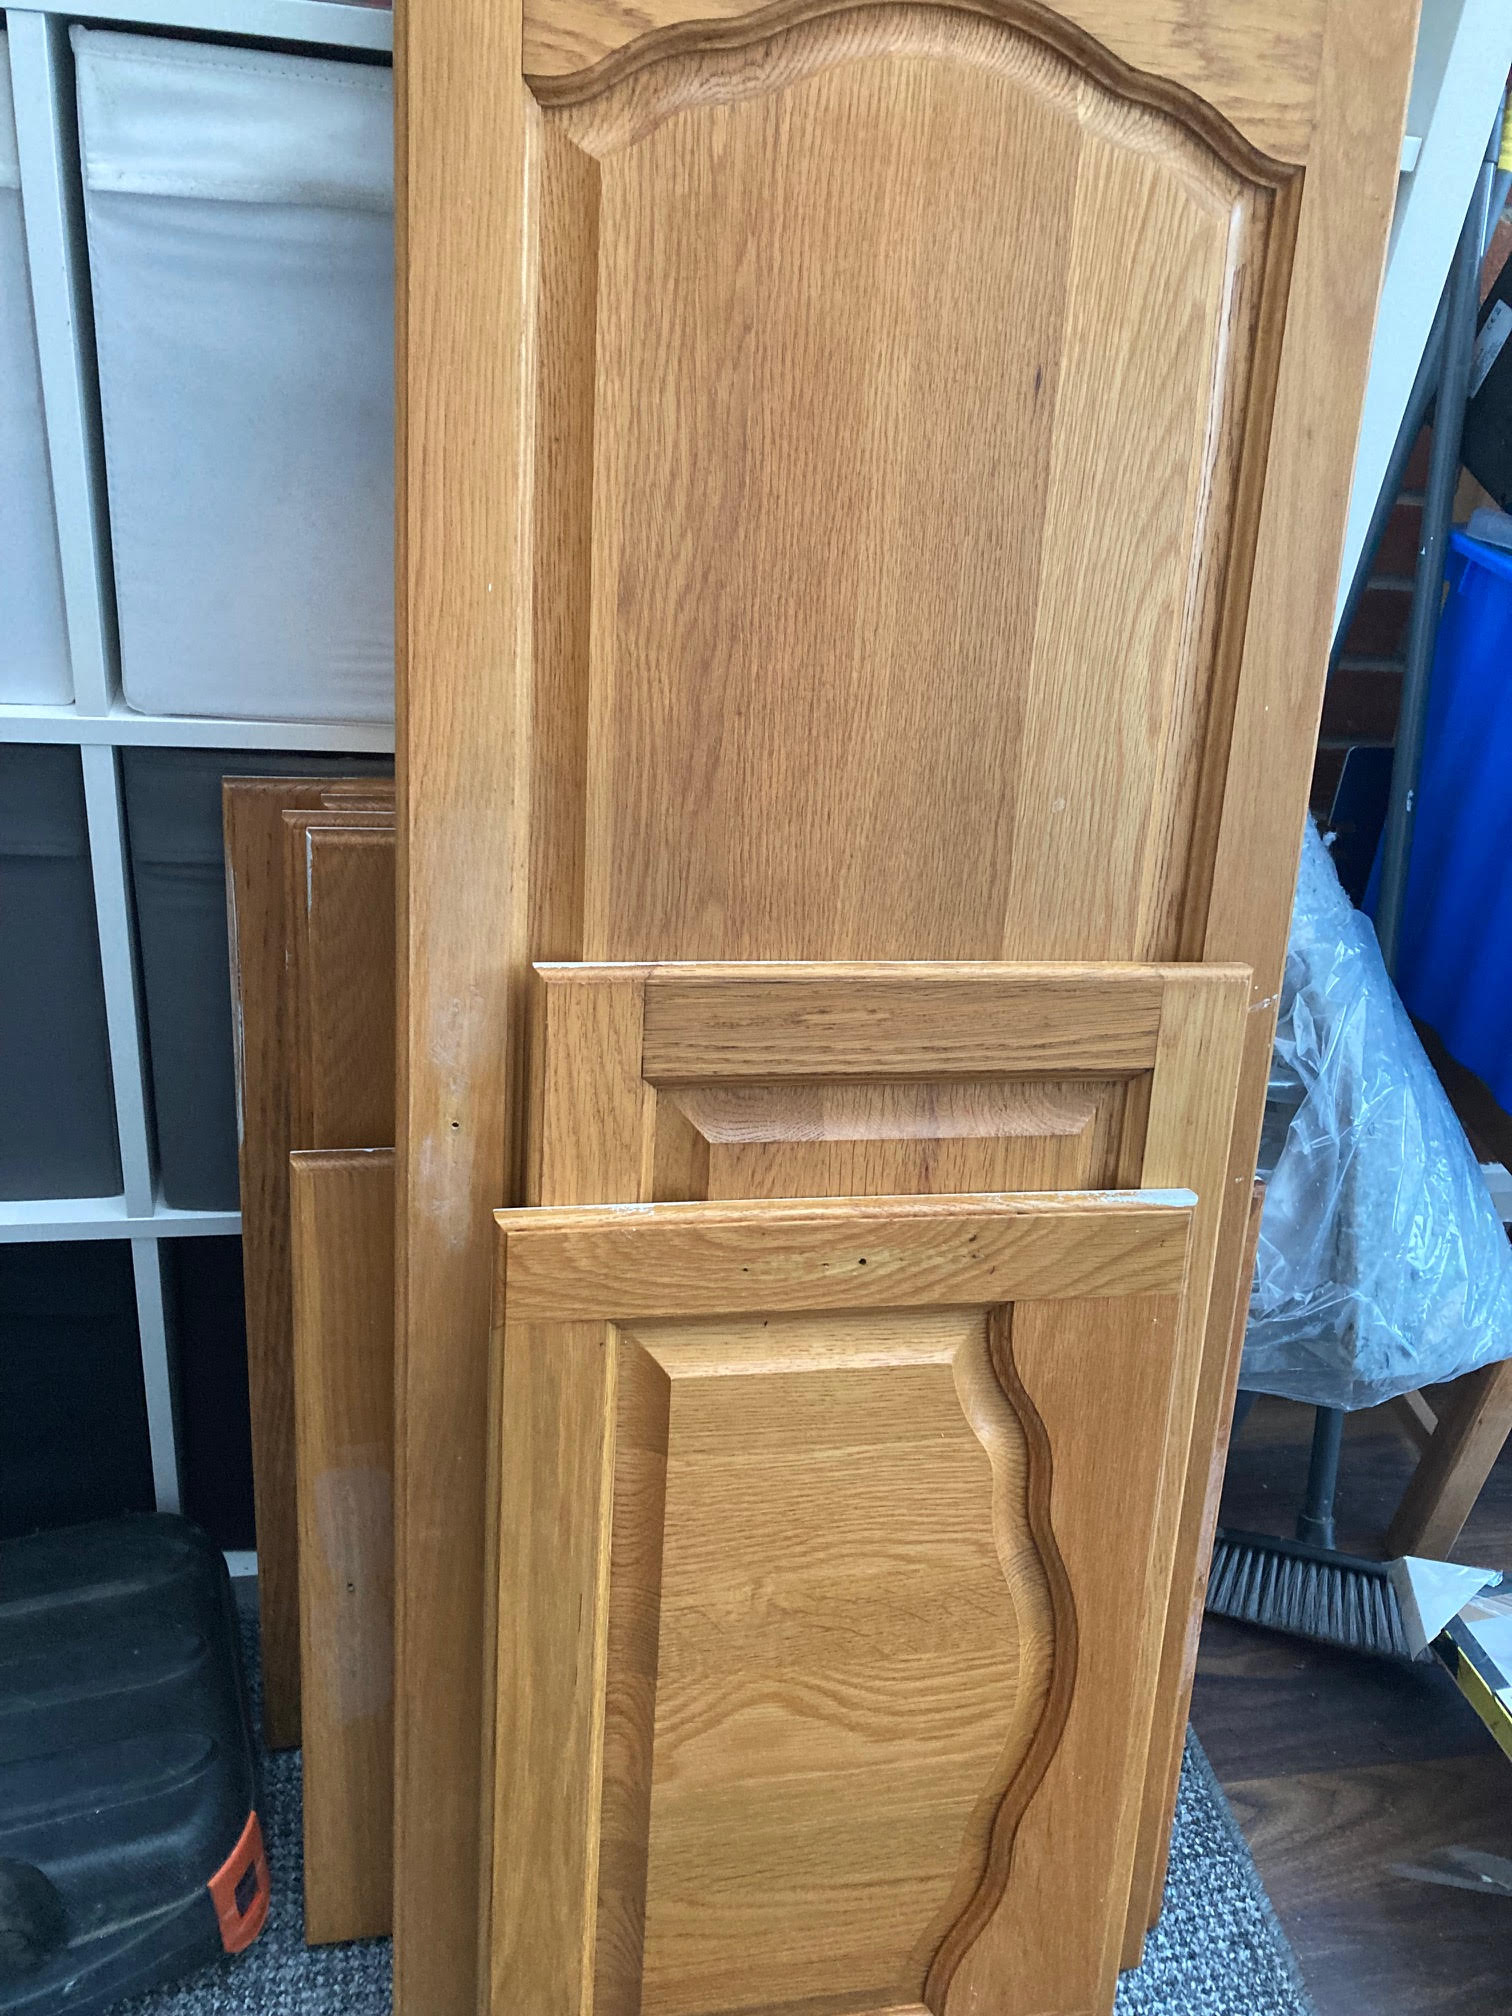
We also removed all the handles and knobs as we were planing to change these. The old handles had been glued on so this was quite a task and took far more time than we had anticipated it would. They old handles also left holes that need filling has they had been attached in three different places.
3. Repainting Kitchen Cupboard Doors: Give The Doors A Thorough Clean
One of the most important things to do before painting your doors is to give them a really thorough clean. Even if they look okay, there’s probably a build up of grease and dirt from the kitchen that you can really see.
I used sugar soap for this which is perfect for removing grease. You can buy it fairly cheaply from hardware stores or you could order to from Amazon.
4. Expect To Need At Least Three Coats Of Paint
Of course, how many coats of a paint you need will depend on your kitchen cupboards, what colour they are, what colour you’re changing too and what condition they are in.
We found all of our cupboards and drawer fronts needed at least three coats of paint on both sides and even then we’ve still needed to do touch ups in some areas.
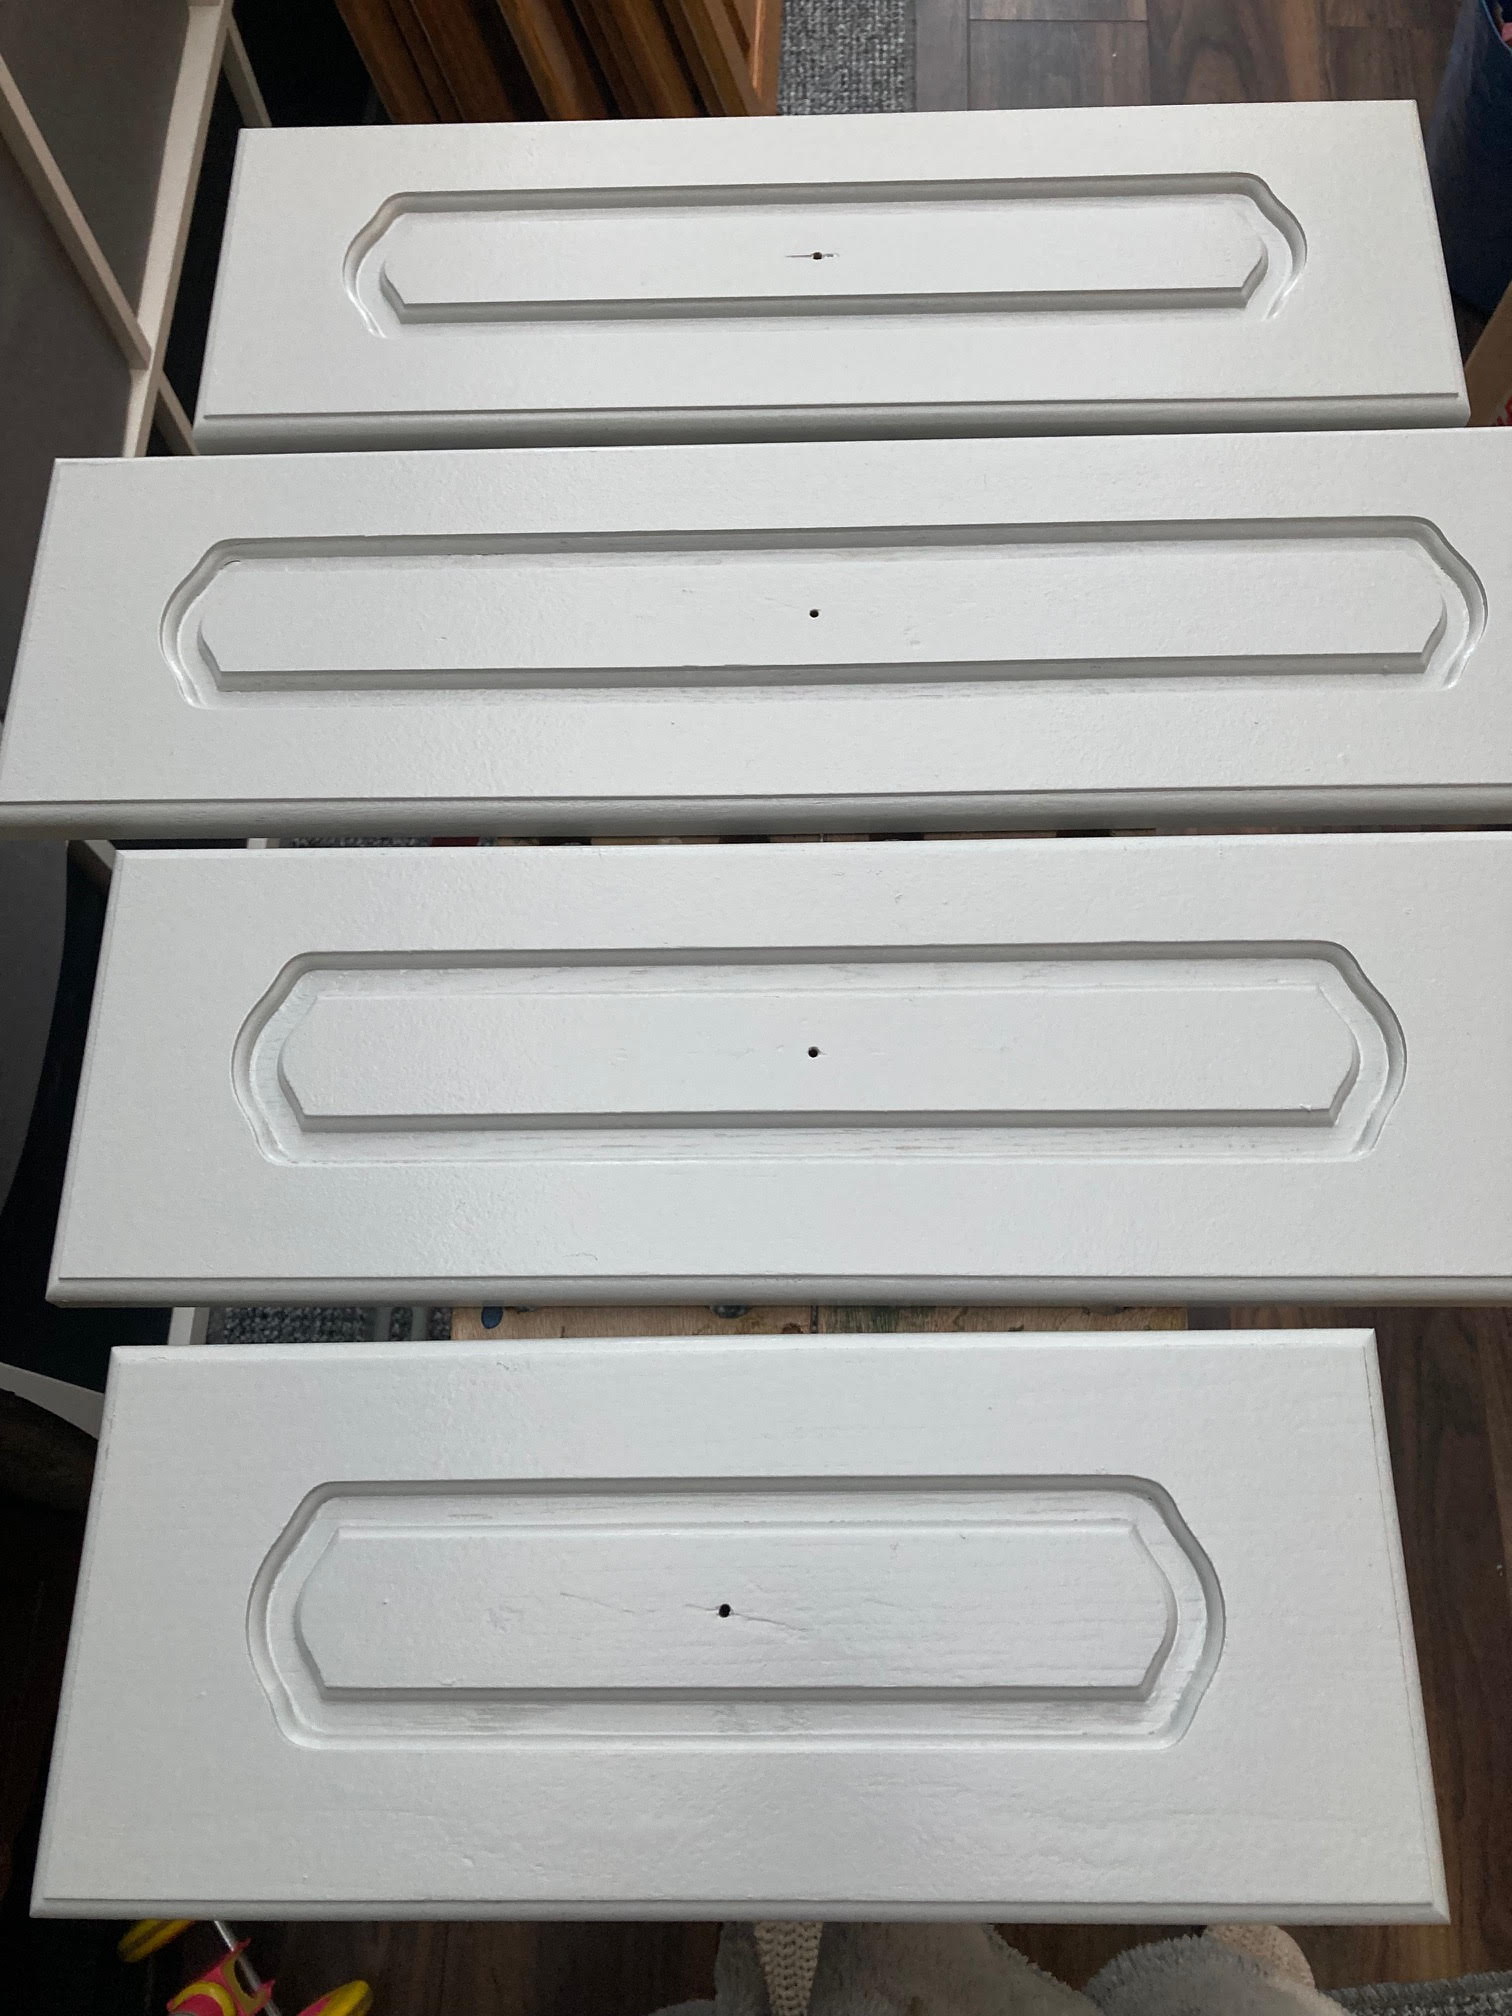
Waiting for each coat of paint to dry has been one of the most time-consuming parts of our kitchen project so far and we found we ran out of space quite quickly. In the end it took around a week for us to get all of the cupboards painted and rehung.
5. Use Brushes and Rollers
We found using a combination of brushes and and mini rollers worked best for us when applying the paint. Just using brushes would have given a bit of an uneven finish so but the paint brushes were needed to get into all the detail on the front of the doors.
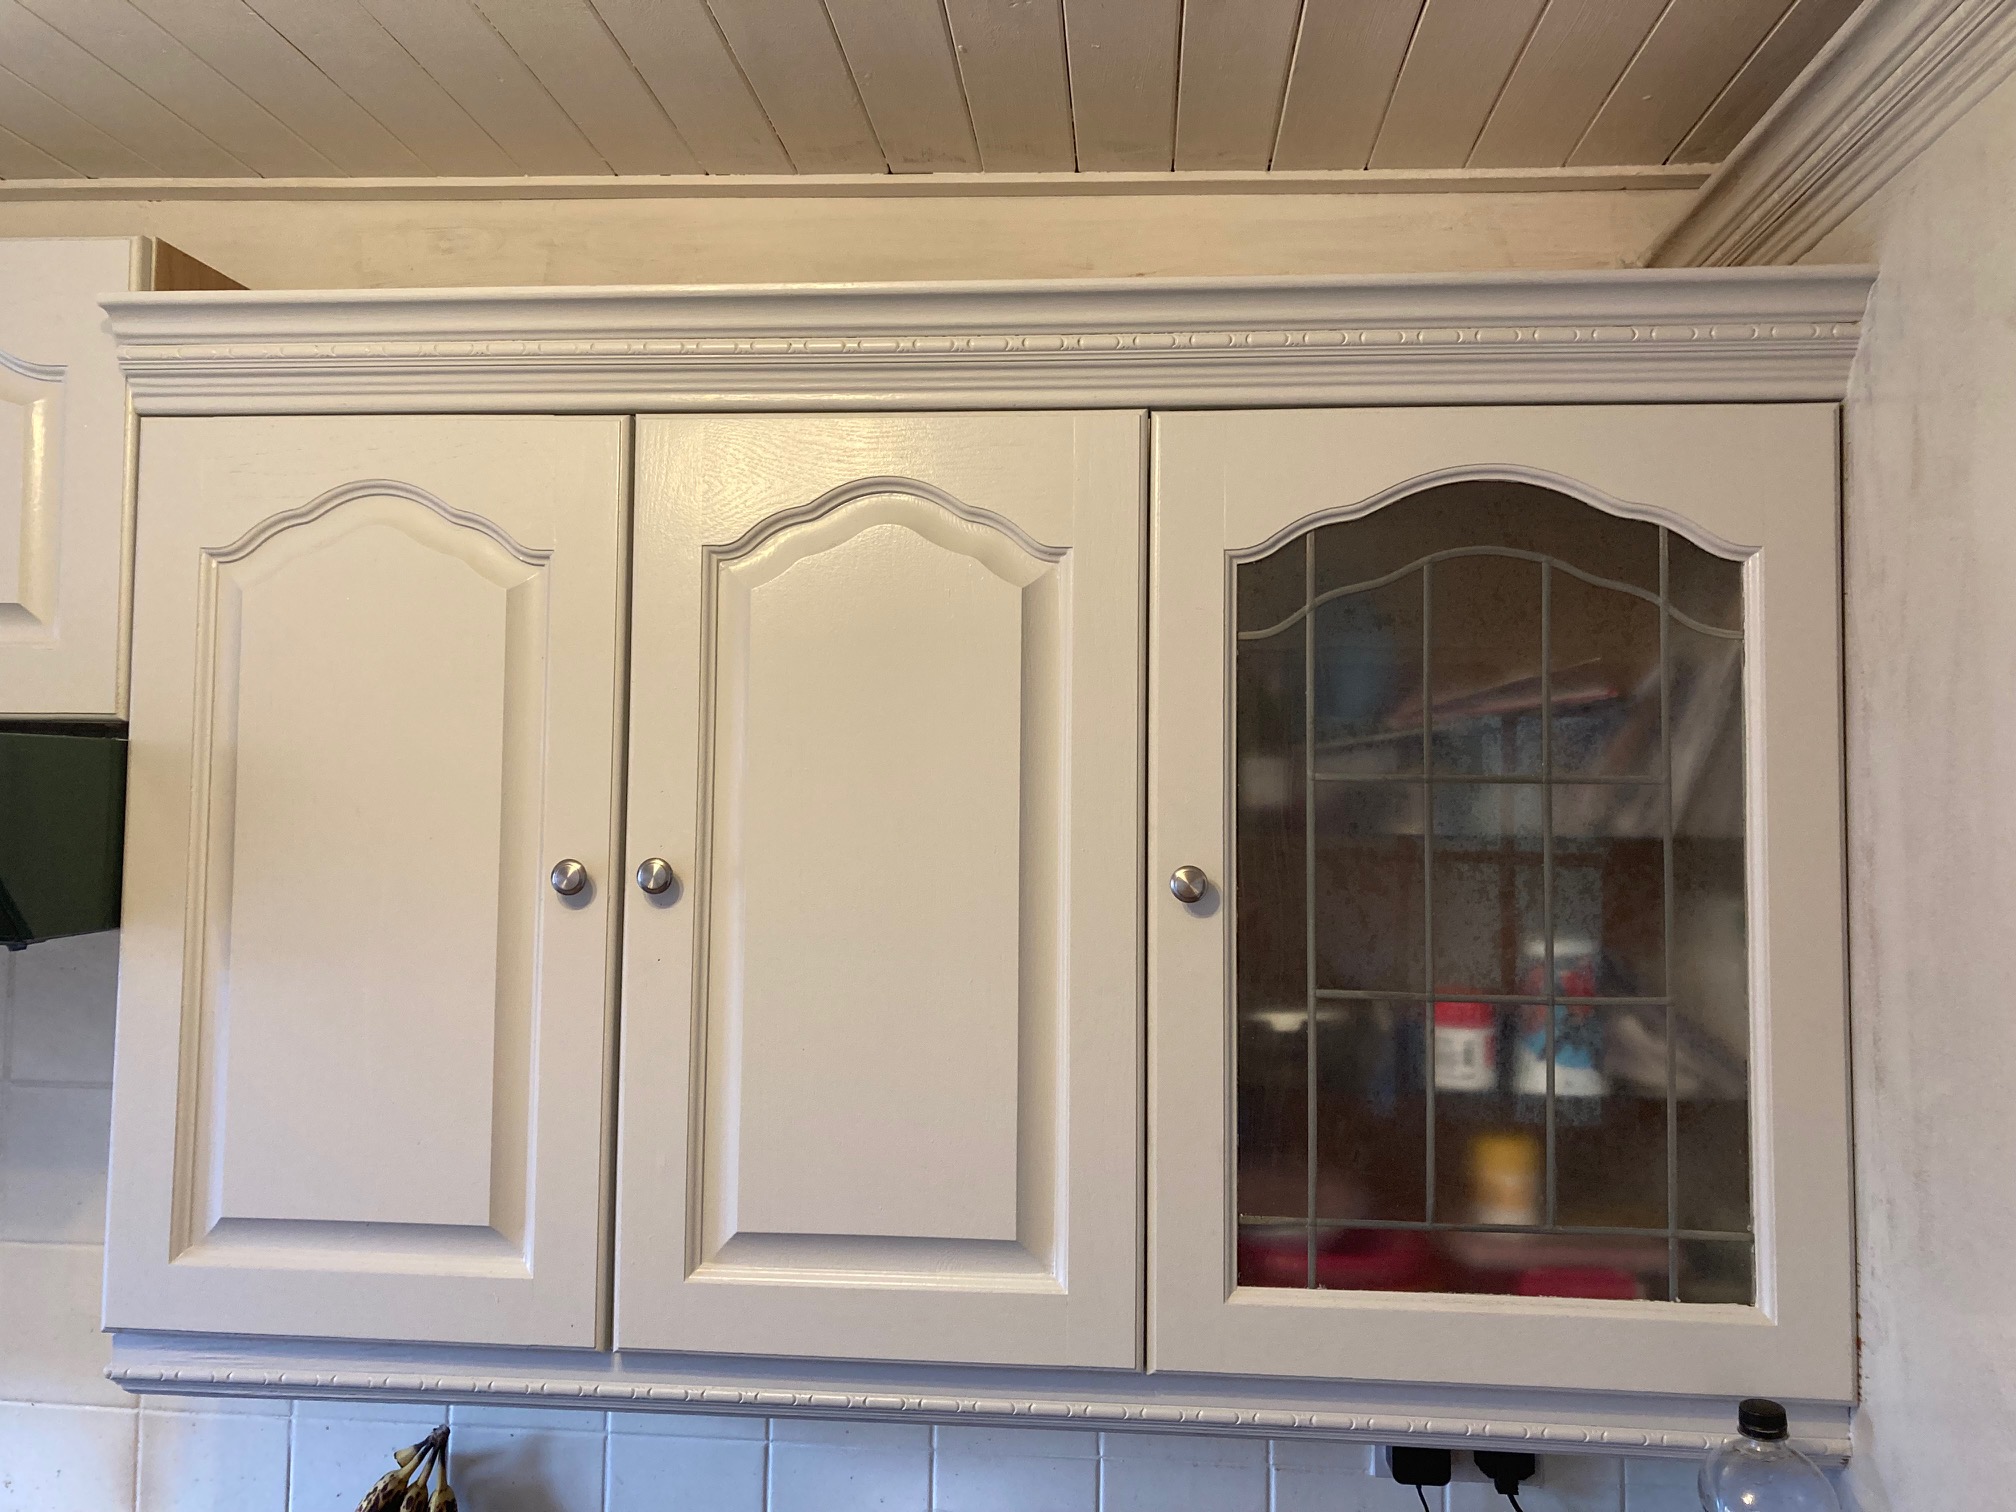
Even though our kitchen isn’t finished yet, repainting the doors and drawers and changing the handles has already made a huge difference and I’d definitely recommend it if your kitchen needs a refresh.